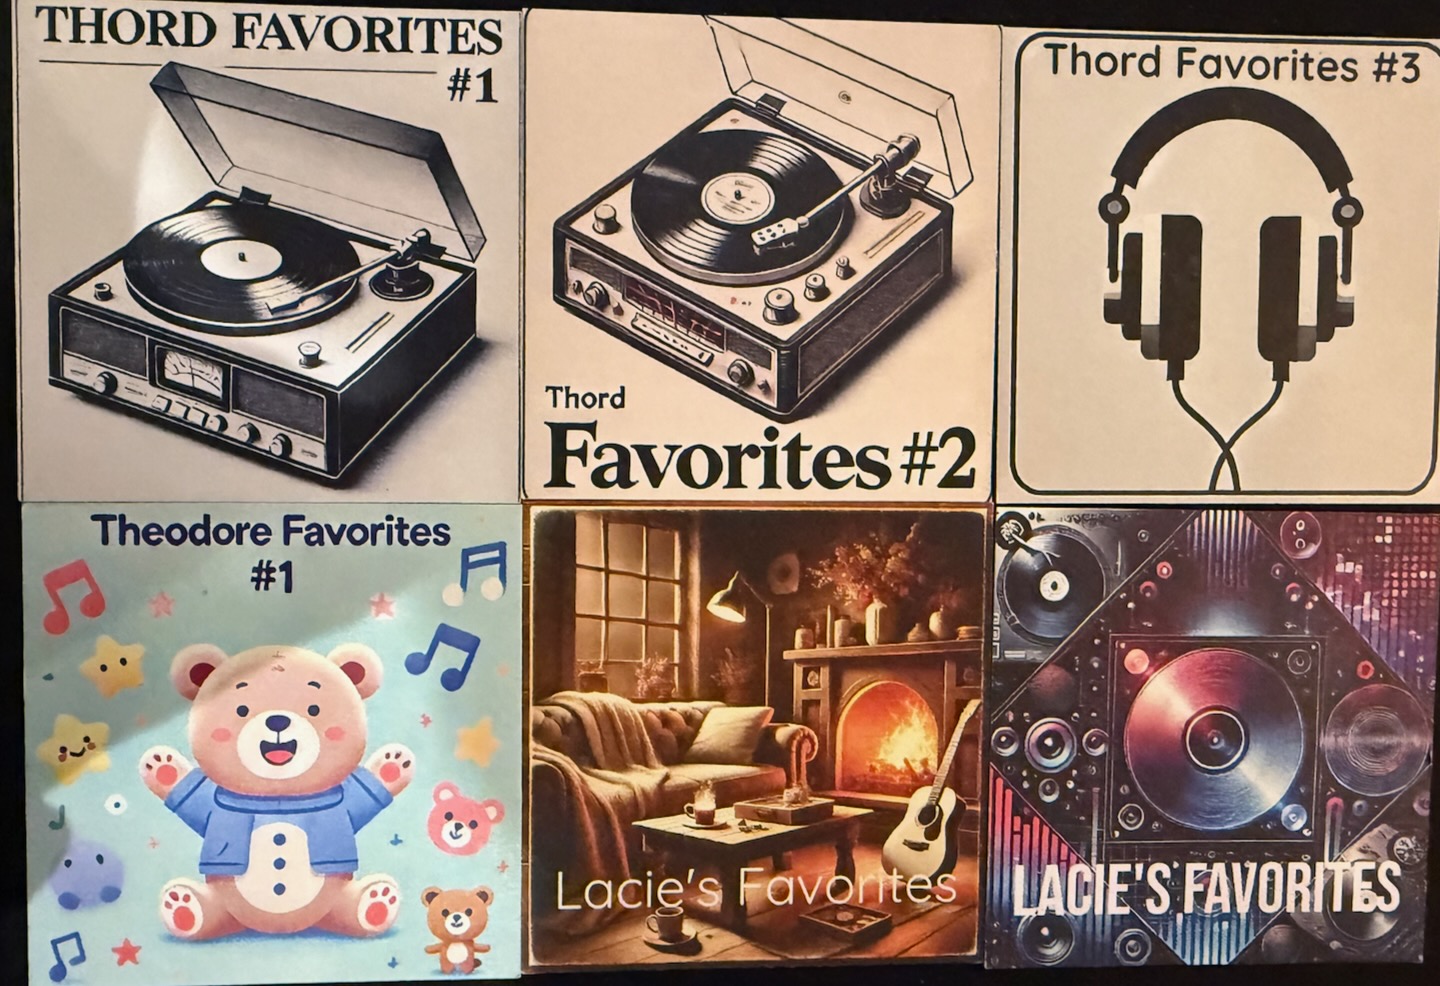
With the purchase of our new house, containing the bar we named The Burrow, I really wanted to make it a place we could enjoy many different activities, including listening to music. Of course I could just ask Alexa to play something, or AirPlay to my speakers, but I wanted something more physical, that guests could easily use, and that would be a fun conversation piece.
I did some googling, and found multiple “NFC Record Player” projects which seemed right in my wheelhouse for something to have in the smarthome. One that I really thought looked good was the Moo Card Player and I decided to try this out myself.
The Idea
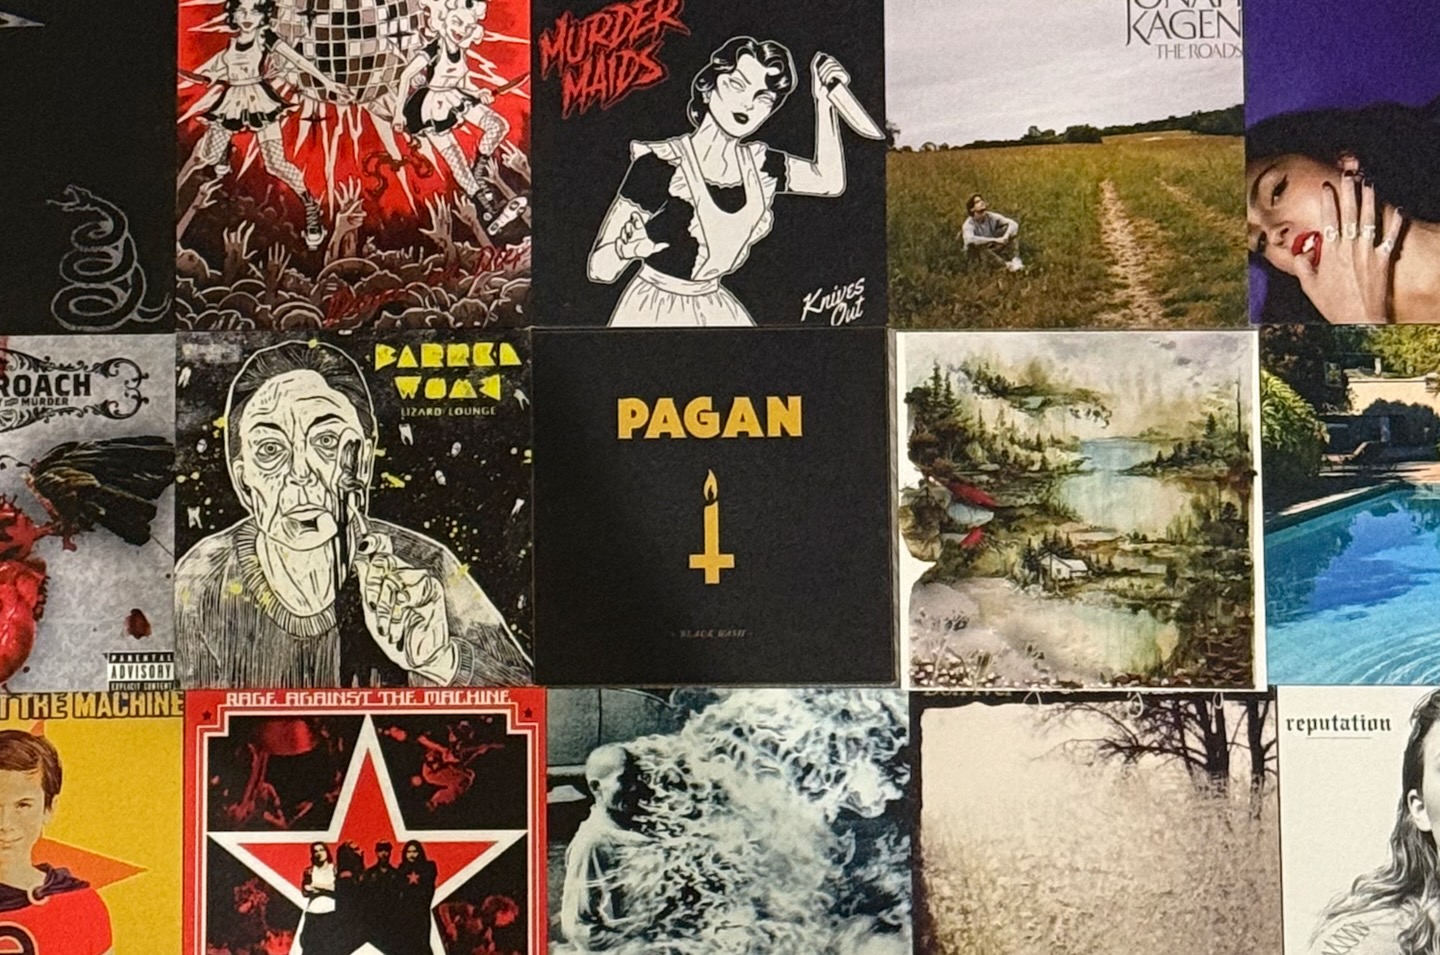
Basically, Moo is a company which makes all kinds of advertising items, including square business cards. The really cool thing is that they let you print a different design on each card with no extra cost! This makes it so you can put the album art of each album you want on one side of the card, and some generic side for the NFC tag.
Version 1
For my first order I went with square Original (350gsm) matte finish cards, and for the side which is the same for all cards (in the Moo editor it’s called “front”) I just put a small Home Assistant logo on the bottom of each card.
The cards cost me about £14 for 50, or about £0.30/card. (I also needed to pay import fees and VAT, so they turned out more expensive, but this will vary based on where you order from)
For the NFC tags, I had a few NTAG215 Rewritable NFC Tags already, so I placed one of those on each card, centered as best as I could, above the Home Assistant logo.
Version 2
I quickly realized a few things I didn’t like with this initial setup:
- The
350gsmpaper weight meant they are not very thick, and made them feel very cheap and flimsy - Alignment of the NFC tags to the center of the cards was difficult, made it so cards wouldn’t sit nice and flush, and stacking the cards on top of each other made them very unstable
- The
NTAG215 NFC tagsI had were too thick for this use case. So the cards became too bulky
To solve the problems of my original version, I placed another order using the square Luxe (600gsm) cards, which are much thicker and feel a lot more premium. When it came to the issue of placement of the NFC tag, I made a small adjustment to the Home Assistant logo side of each card by adding a small black circle in the middle of the card to guide with NFC tag placement. Finally I switched from the thick NFC tags to NFC Tags Self-Adhesive (Round/25 mm) which are extremely thin, and don’t add any thickness to the cards.
The luxe cards are obviously more expensive at about £26 for 50, or £0.50/card.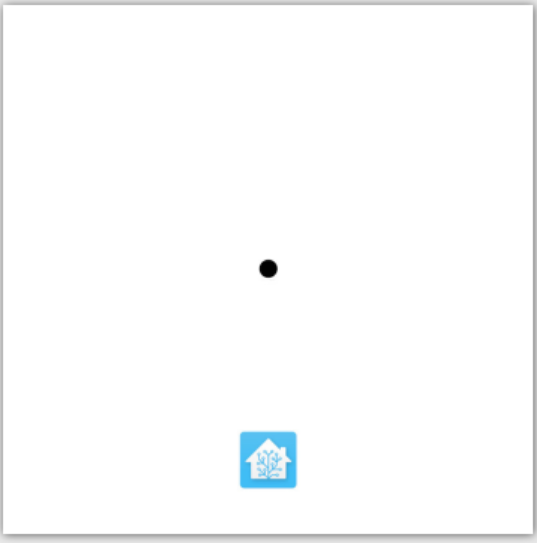
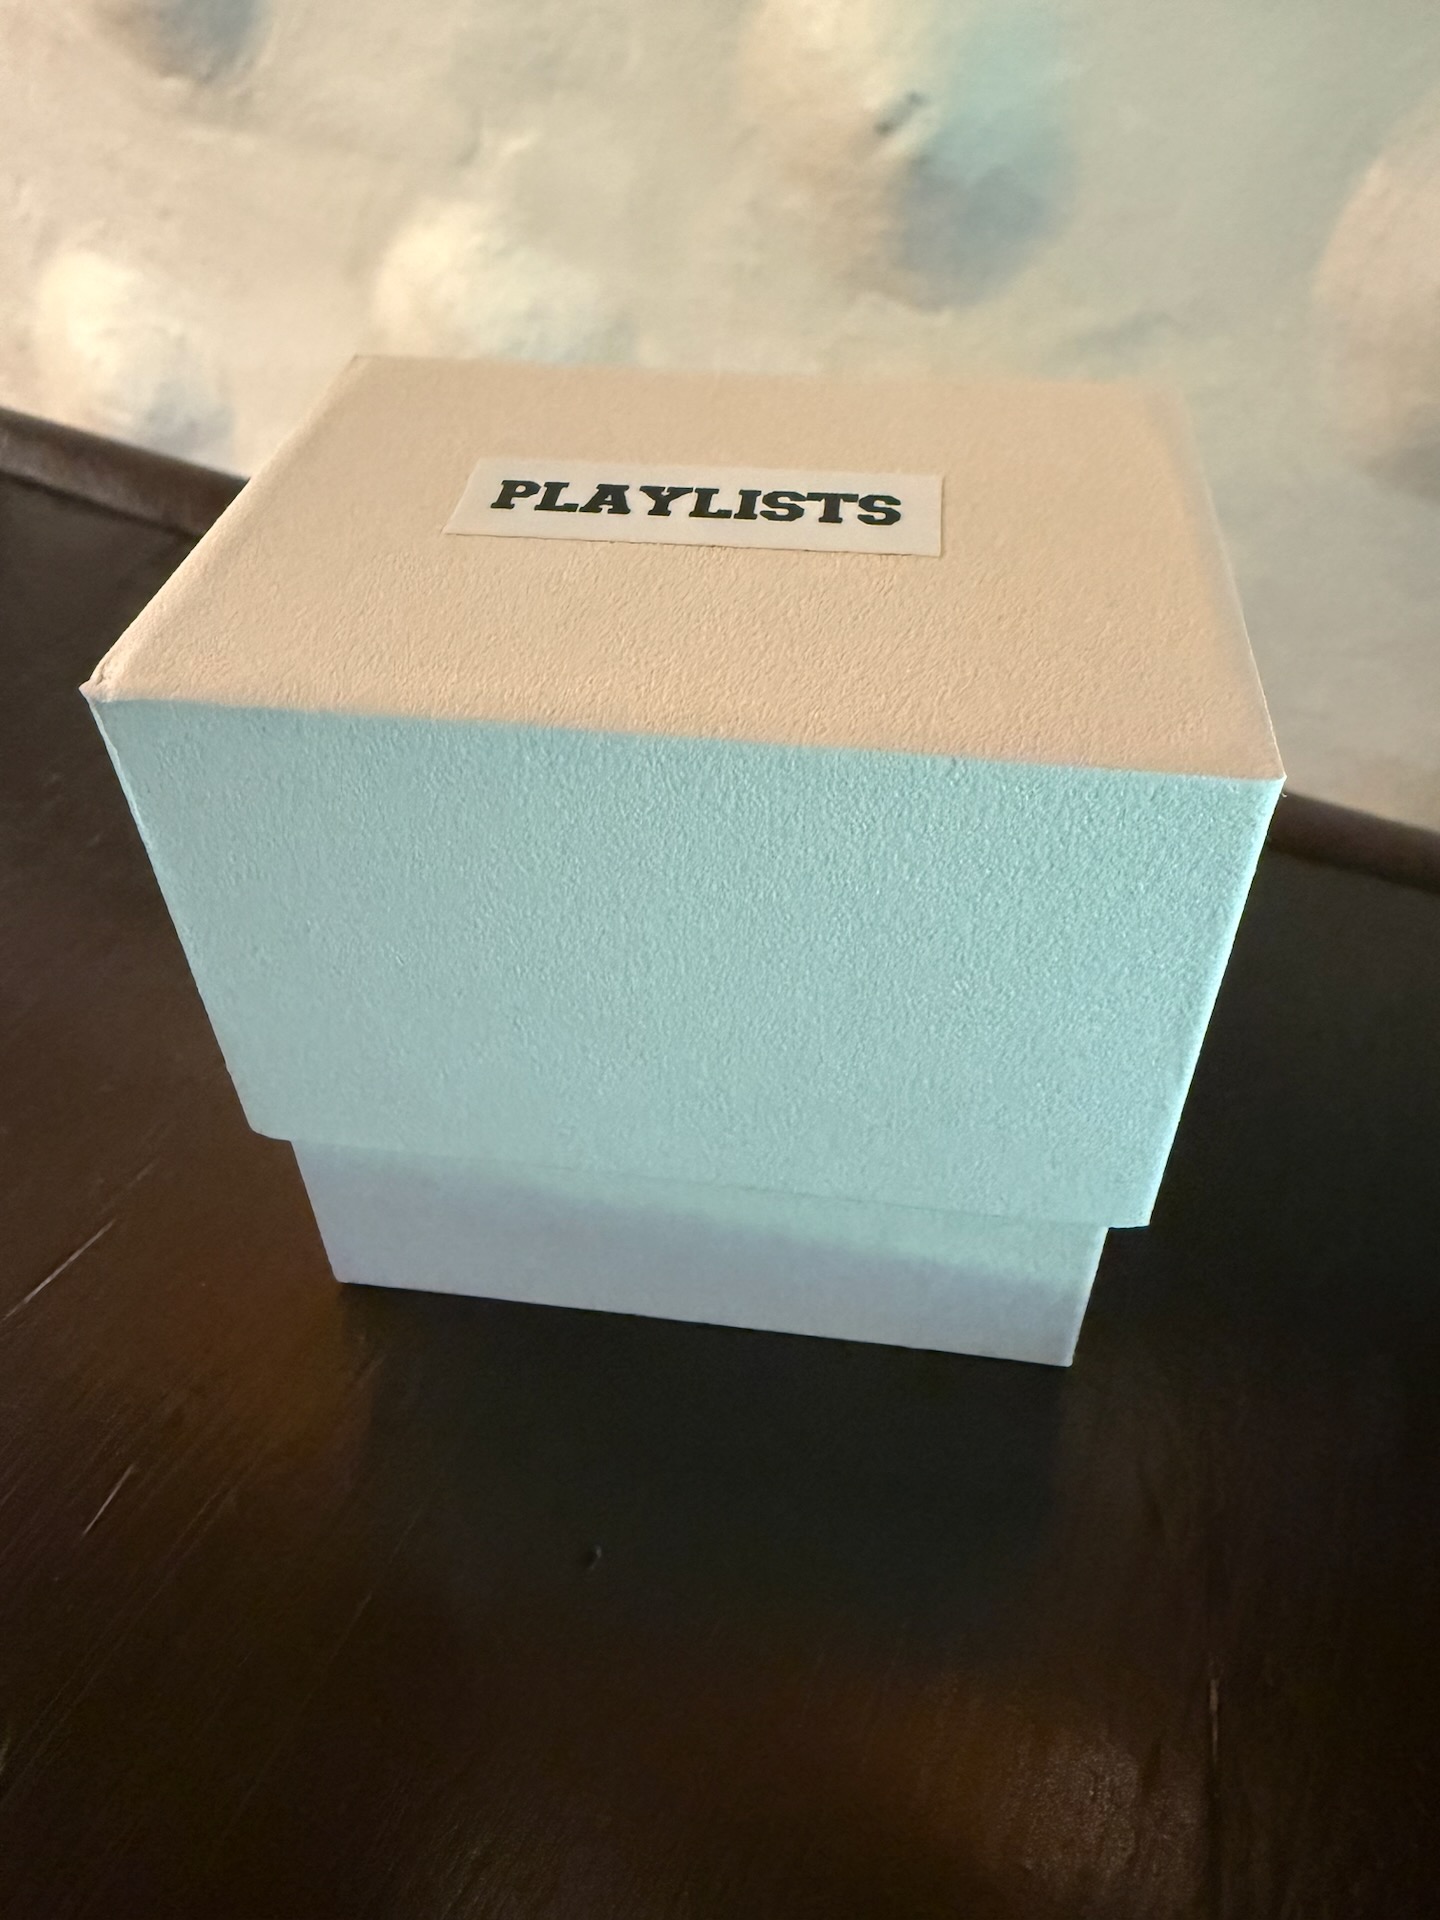
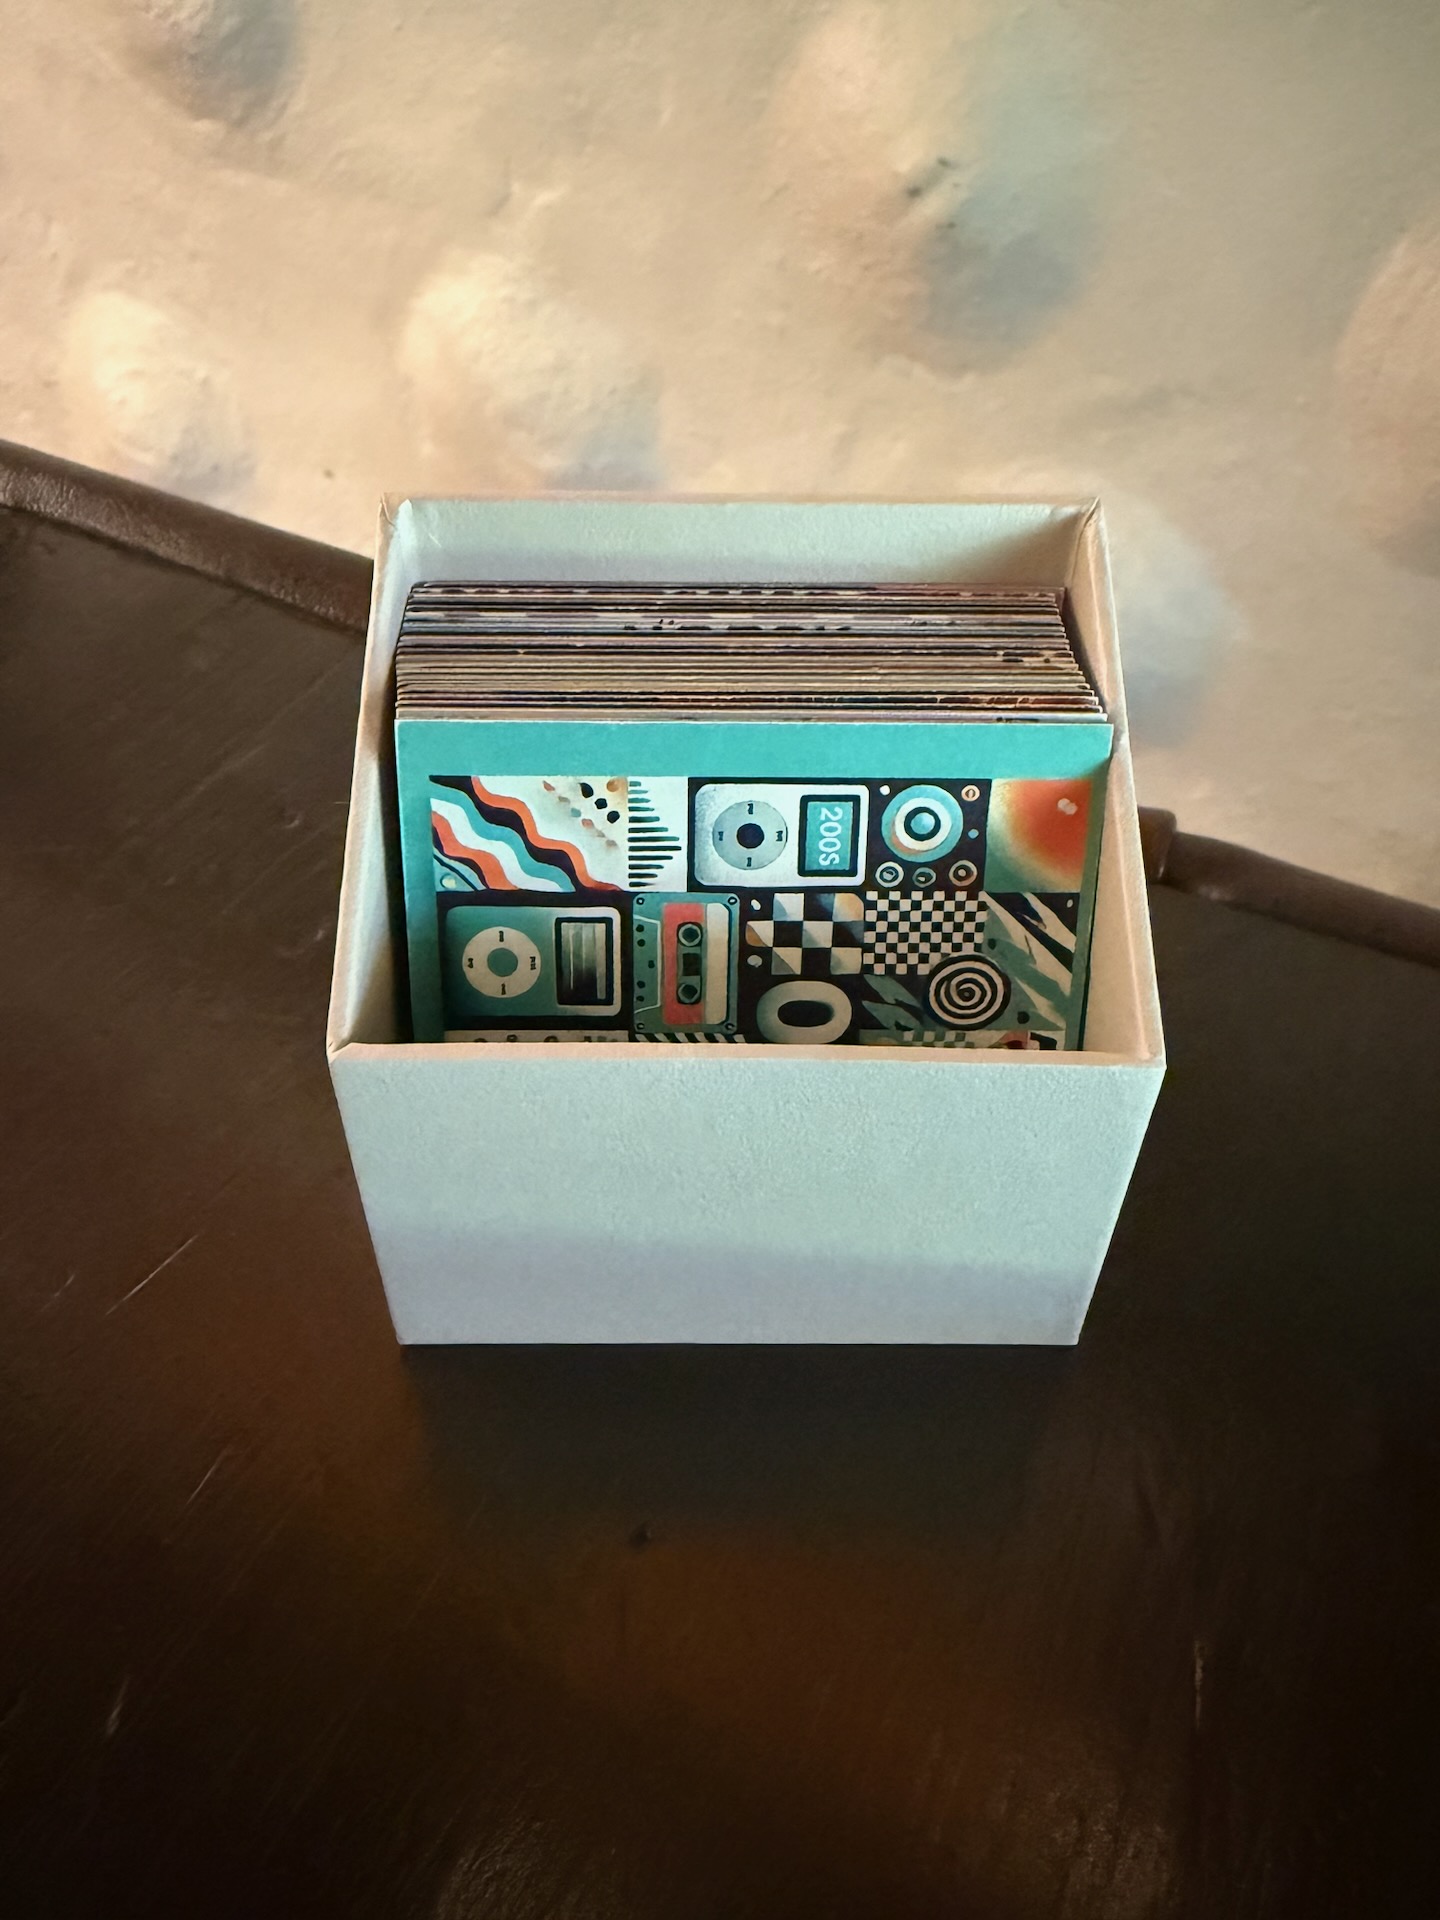
I also purchased some of the Square Display Boxes which worked out very well to store the cards.
Scanning
The next thing to solve was what to use to scan the cards into Home Assistant and trigger automations to start playing music. When searching around, I came across Adonno Tag Reader, which seemed like a great fit, and it was built for Home Assistant!
I bought a pre-assembled version, which was all plug and play. In Home Assistant, it shows up as an ESPHome device, and it allows you to configure things like the built-in LED and buzzer sound.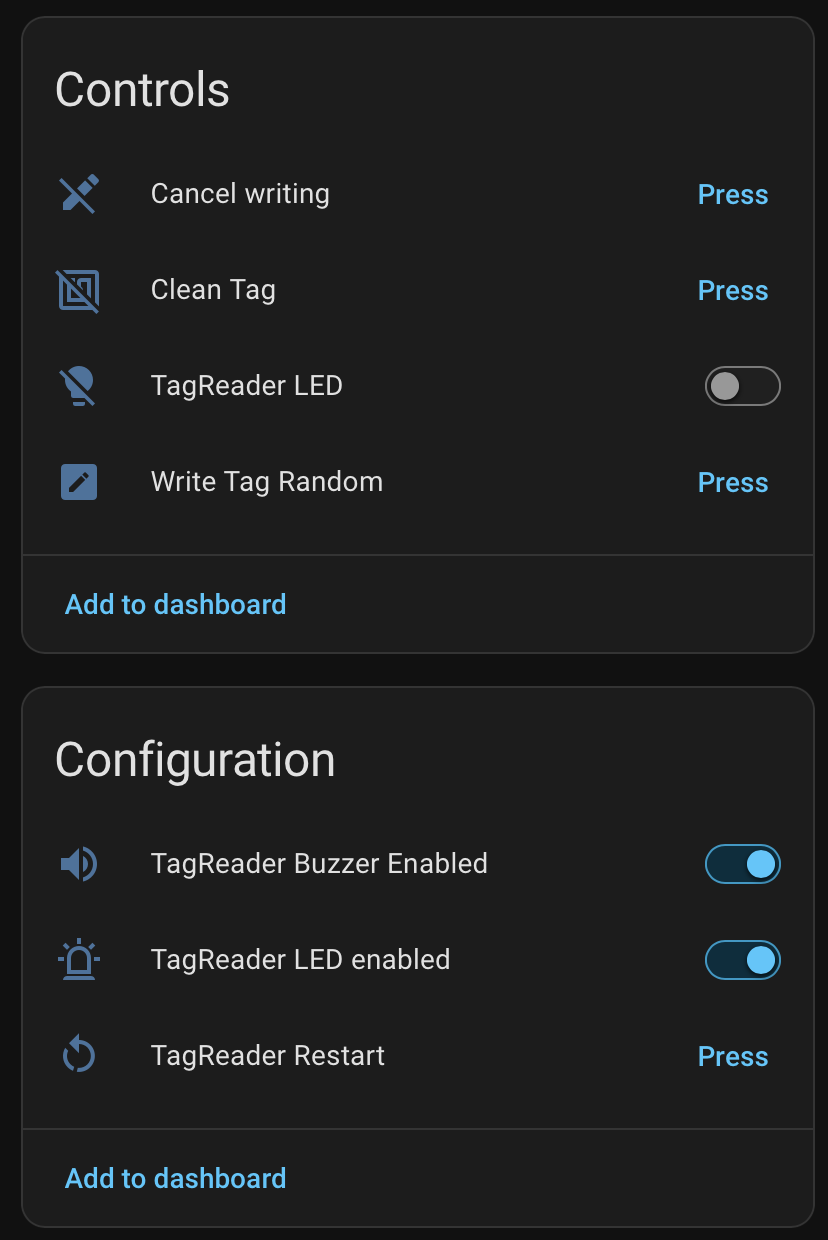
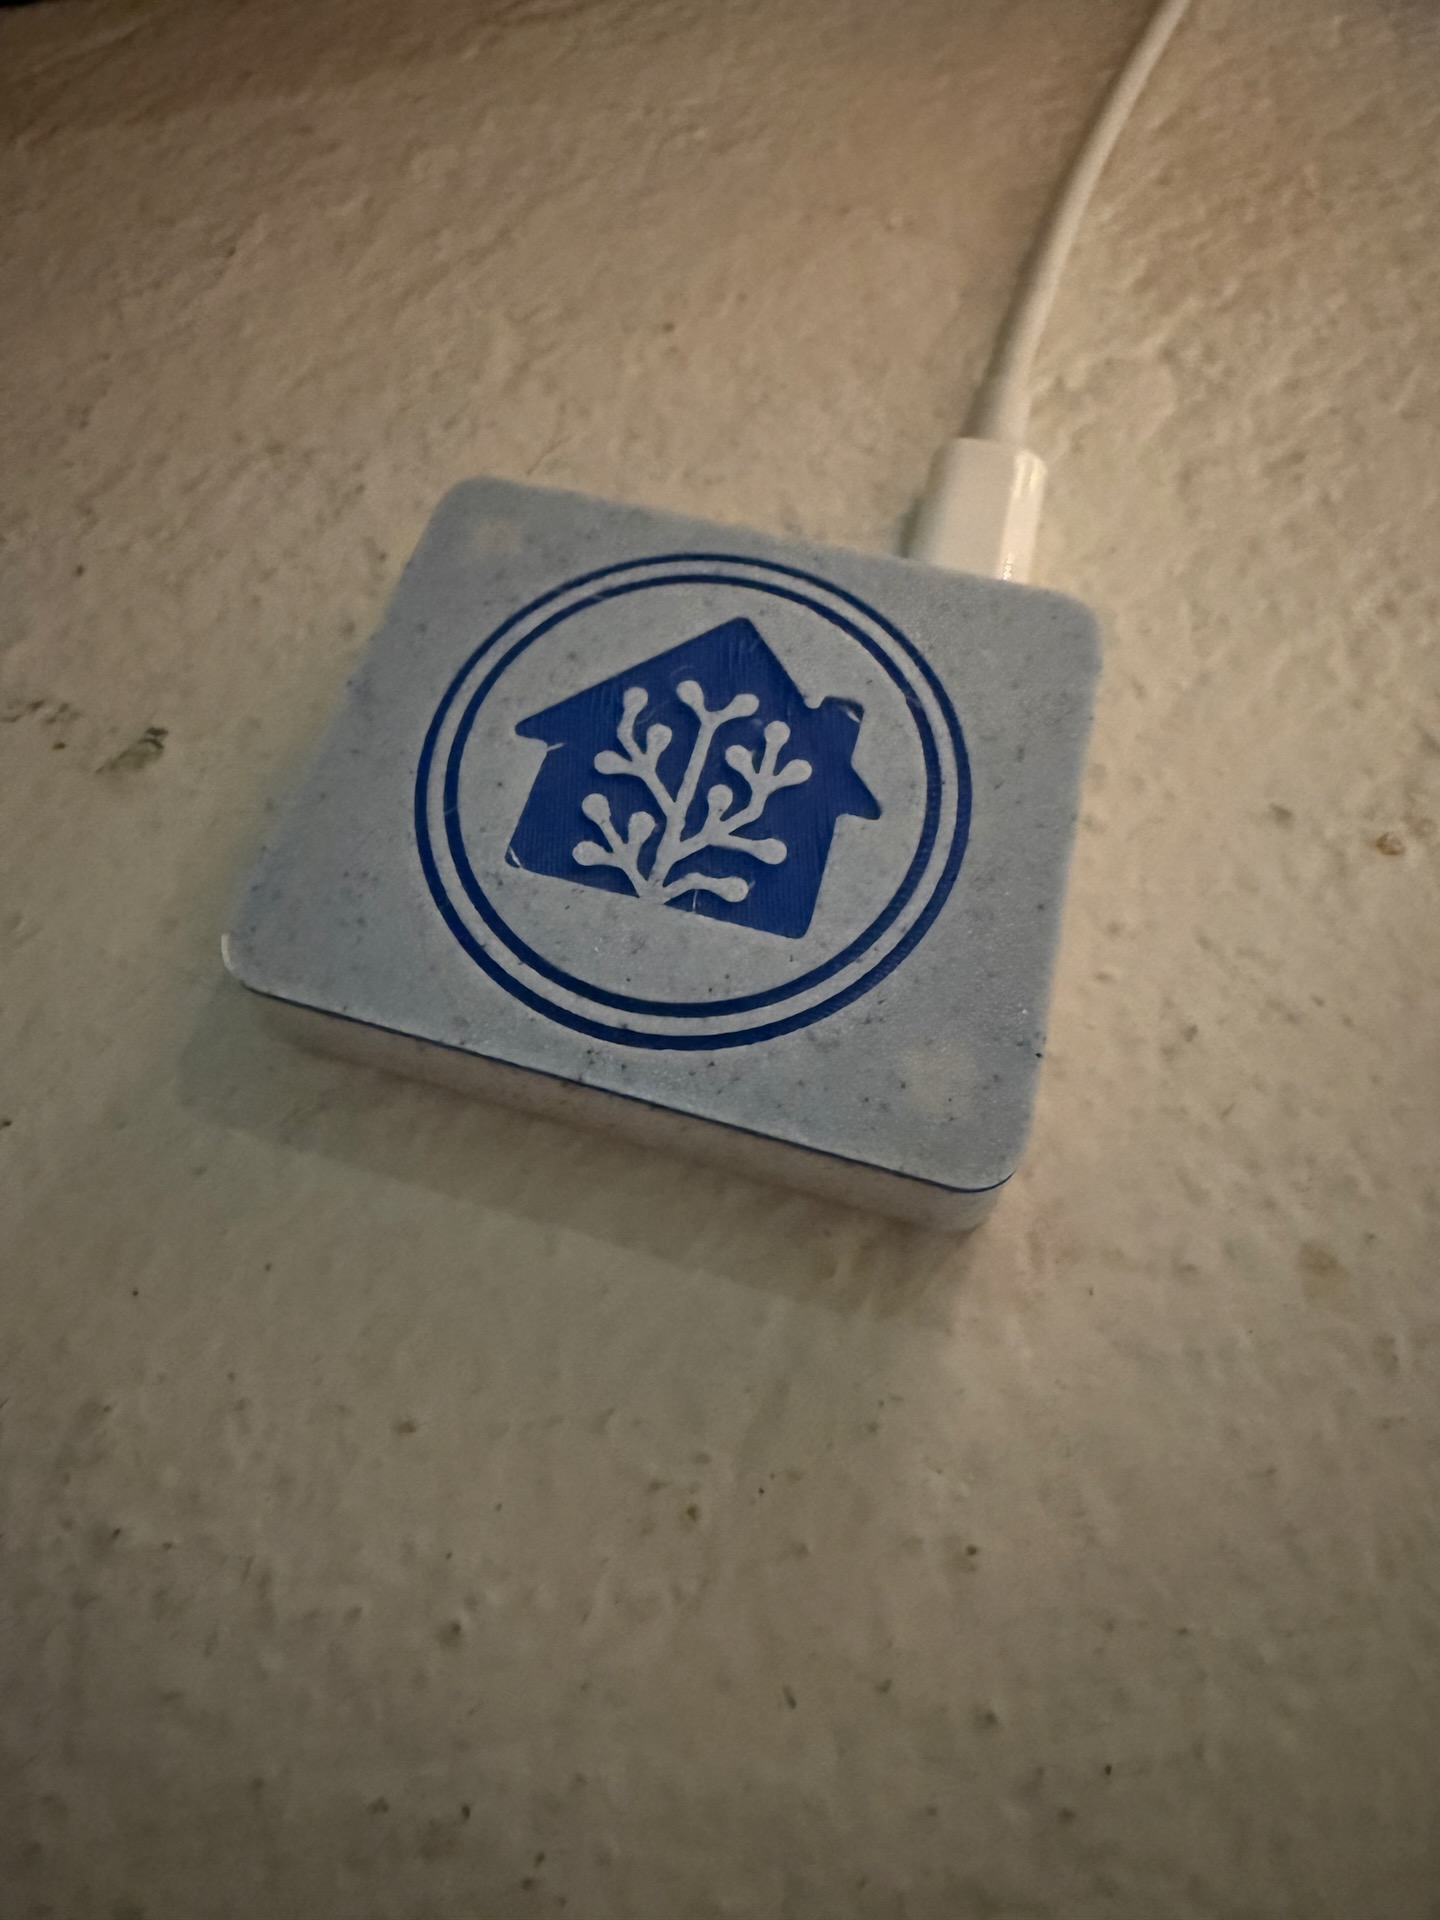
Scanning a card on the reader now triggers a tag event in Home Assistant, which I used to trigger my automations.
Playback
When I first set this up I used Spotify URLs directly with a Squeezelite player on a Raspberry Pi Zero 2 WH with a Raspiaudio Audio+ V2. Around the same time I discovered Music Assistant which was a much better fit for me, since it allowed me to integrate many different music sources, including local files, so I switched over to use it. I also switched out the Squeezelite player for a WiiM Mini which has a dedicated integration with Music Assistant.
Automations
I created a new file in config/automations/ called music_tags.yaml and edited my configuration.yaml to include:
| |
Then in the new music_tags.yaml file I created one automation for each tag:
| |
To get the tag_id, scan the tag on the reader and look at the new tag which shows up in the Tags section of Home Assistant frontend.
After adding all the automations, I added a custom label (NFC) to each automation, changed the icon to mdi:disc, and added them all to a “Music” category, for better organization, and to separate them from all my other automations.
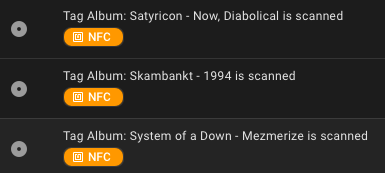
(As a side note, I really wish Home Assistant made it possible to specify labels/area/icon of automations from the YAML configuration…)
Script
To avoid having to redo all the logic for playback, I created a Home Assistant script that I can call from each automation. This also makes it easy to switch to another player or change the setup in the future, keeping all the automations the same.
I mostly use Spotify URLs to albums, or direct library URLs (e.g. library://album/<id>) to my local media, but it can be anything which is configured in Music Assistant, and it’s also easy to change the URLs for each automation to switch to another service later if needed.
Finally, I added a type option, to distinguish between album and playlist, since I wanted to treat them differently.
| |
Conclusion
I’m very happy with the resulting album cards, and the quality of the thicker Luxe cards from Moo is totally worth it. The reactions I’ve had from friends and family have also been really good, and it seems like people enjoy the physical “media”. Another advantage is that anyone can easily play music (although limited to the albums and playlists I have curated, which imo is a good thing) without needing to know how to turn on any speakers, connect Bluetooth or adjust any settings.
One drawback is that adding new albums means ordering a new batch from Moo, and requires a minimum order of 50 cards, so not something I will do very often. I purchased 100 different cards and made sure to create some generic “Thord’s Favorites” cards, which I use to point to stuff I’m currently listening to a lot.
Demo
Card scanned
Overview of some of the cards
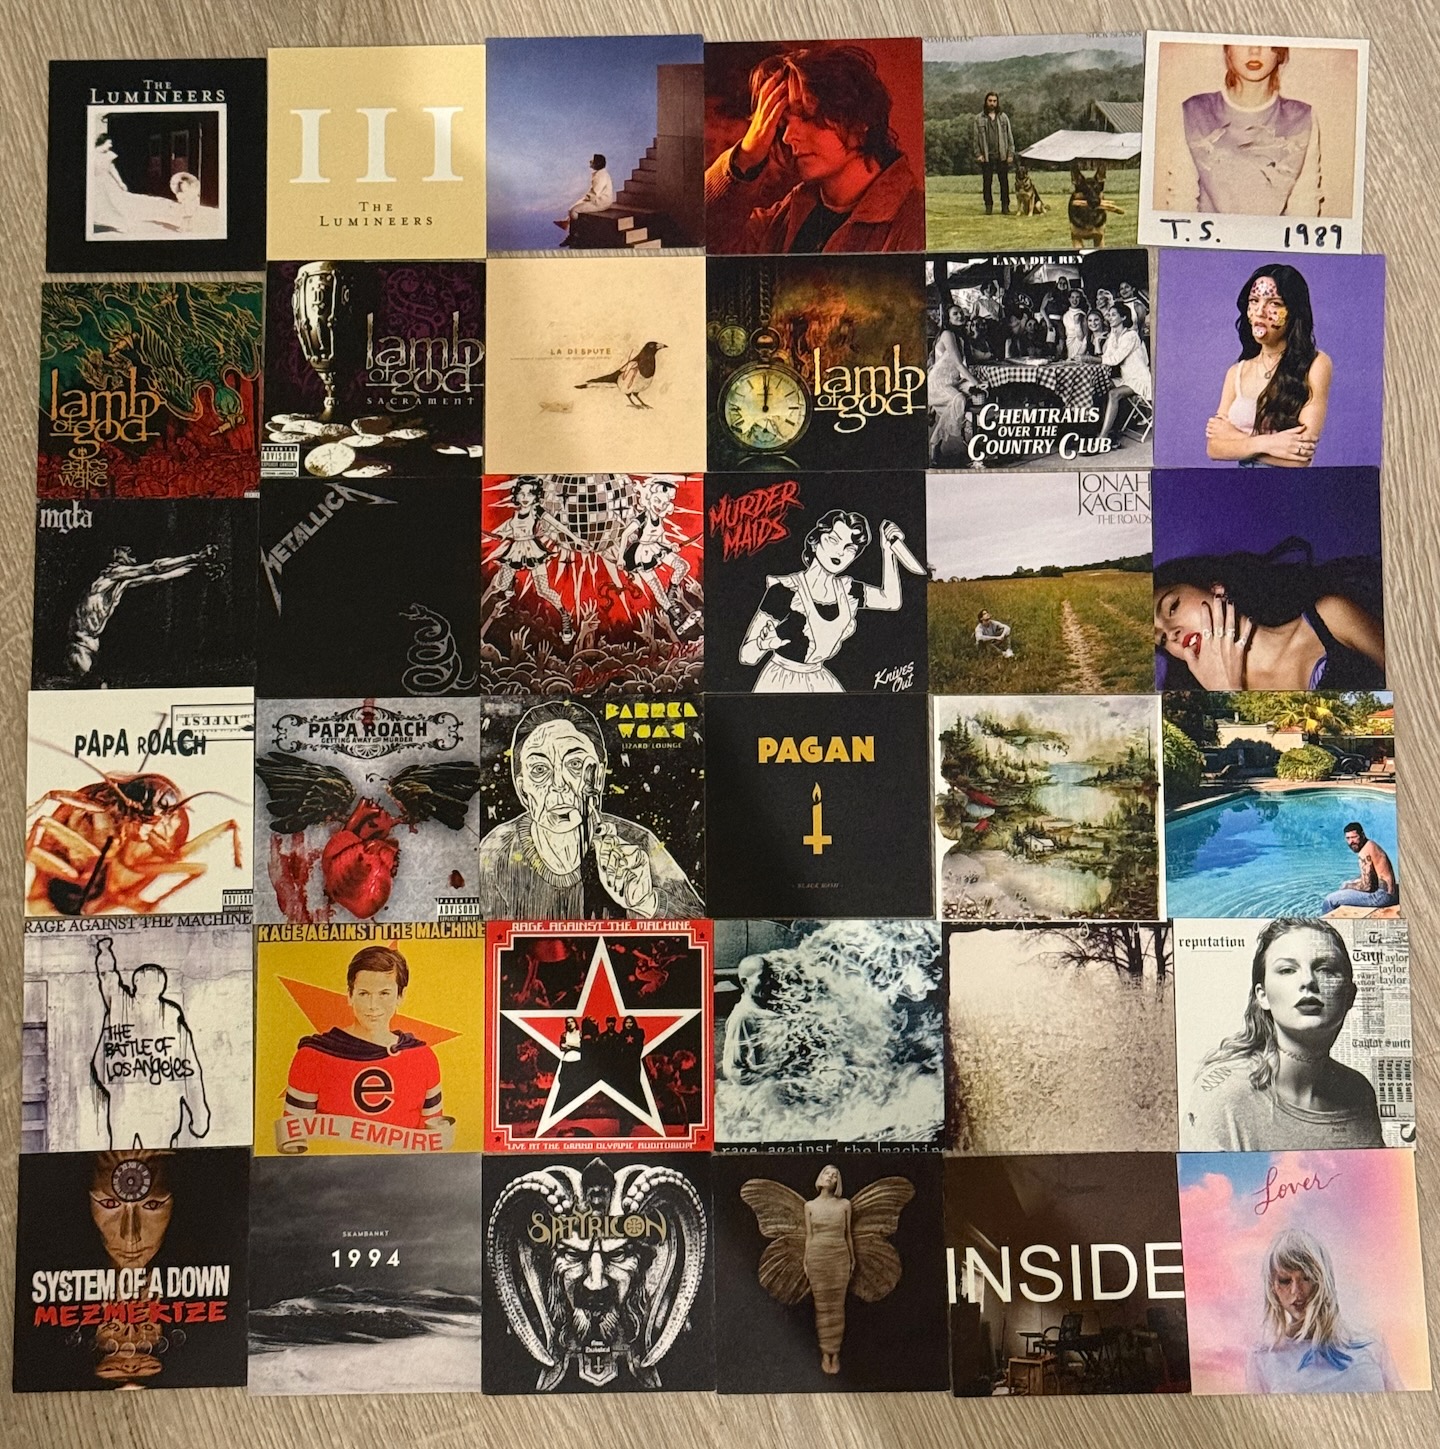
Card boxes
Favorites cards