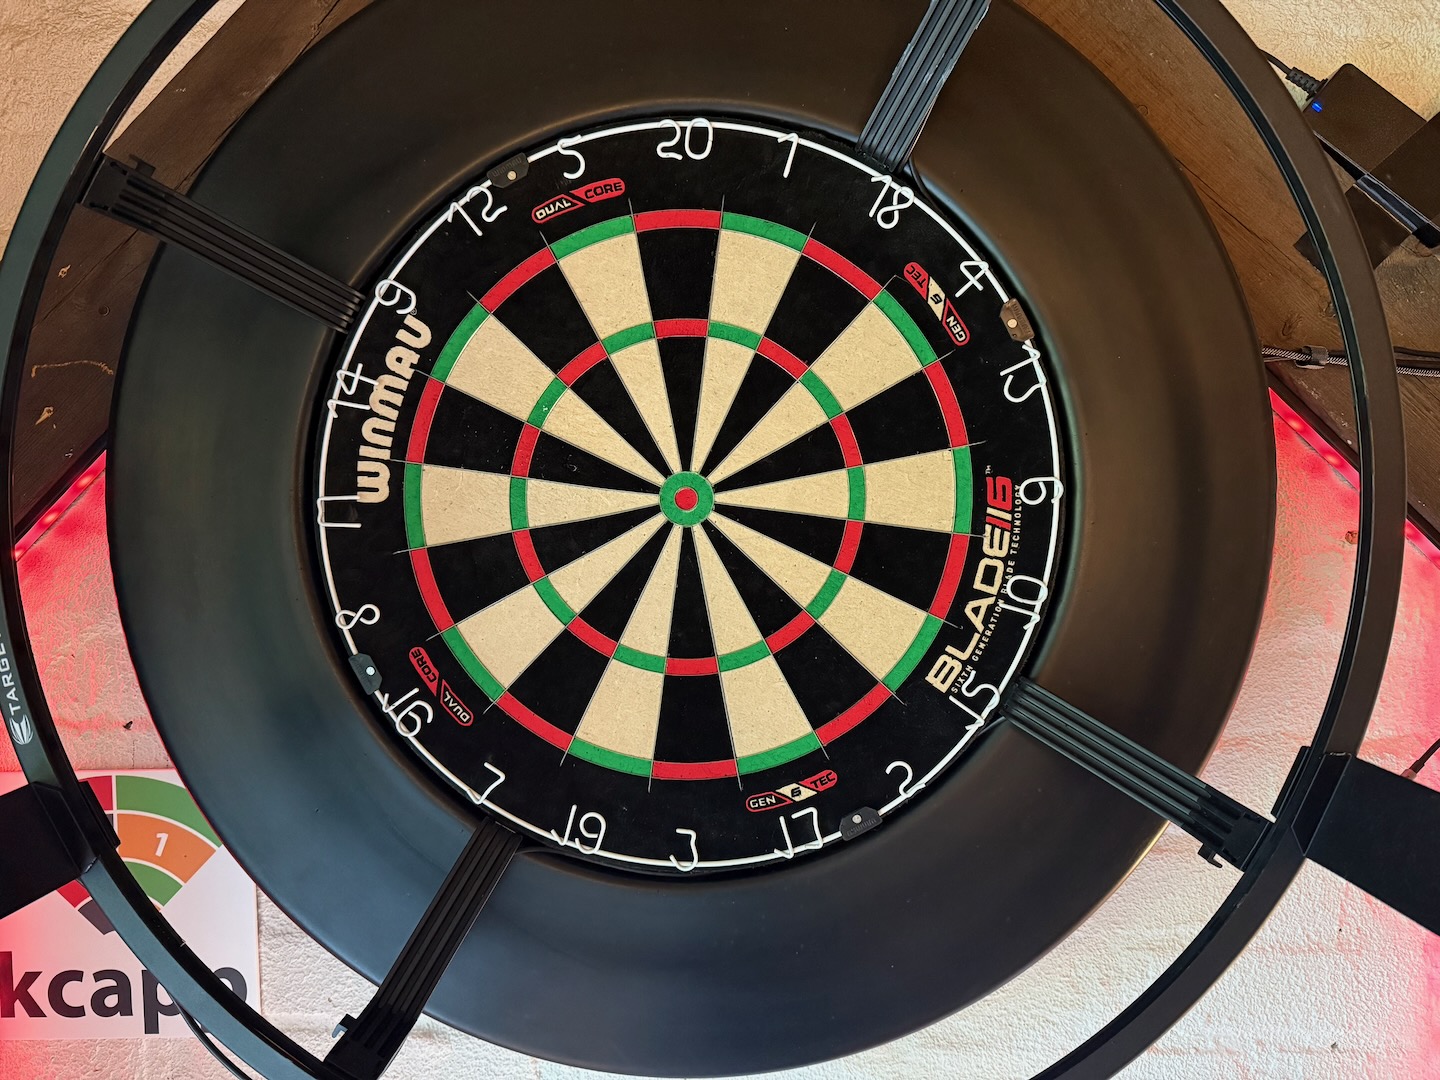
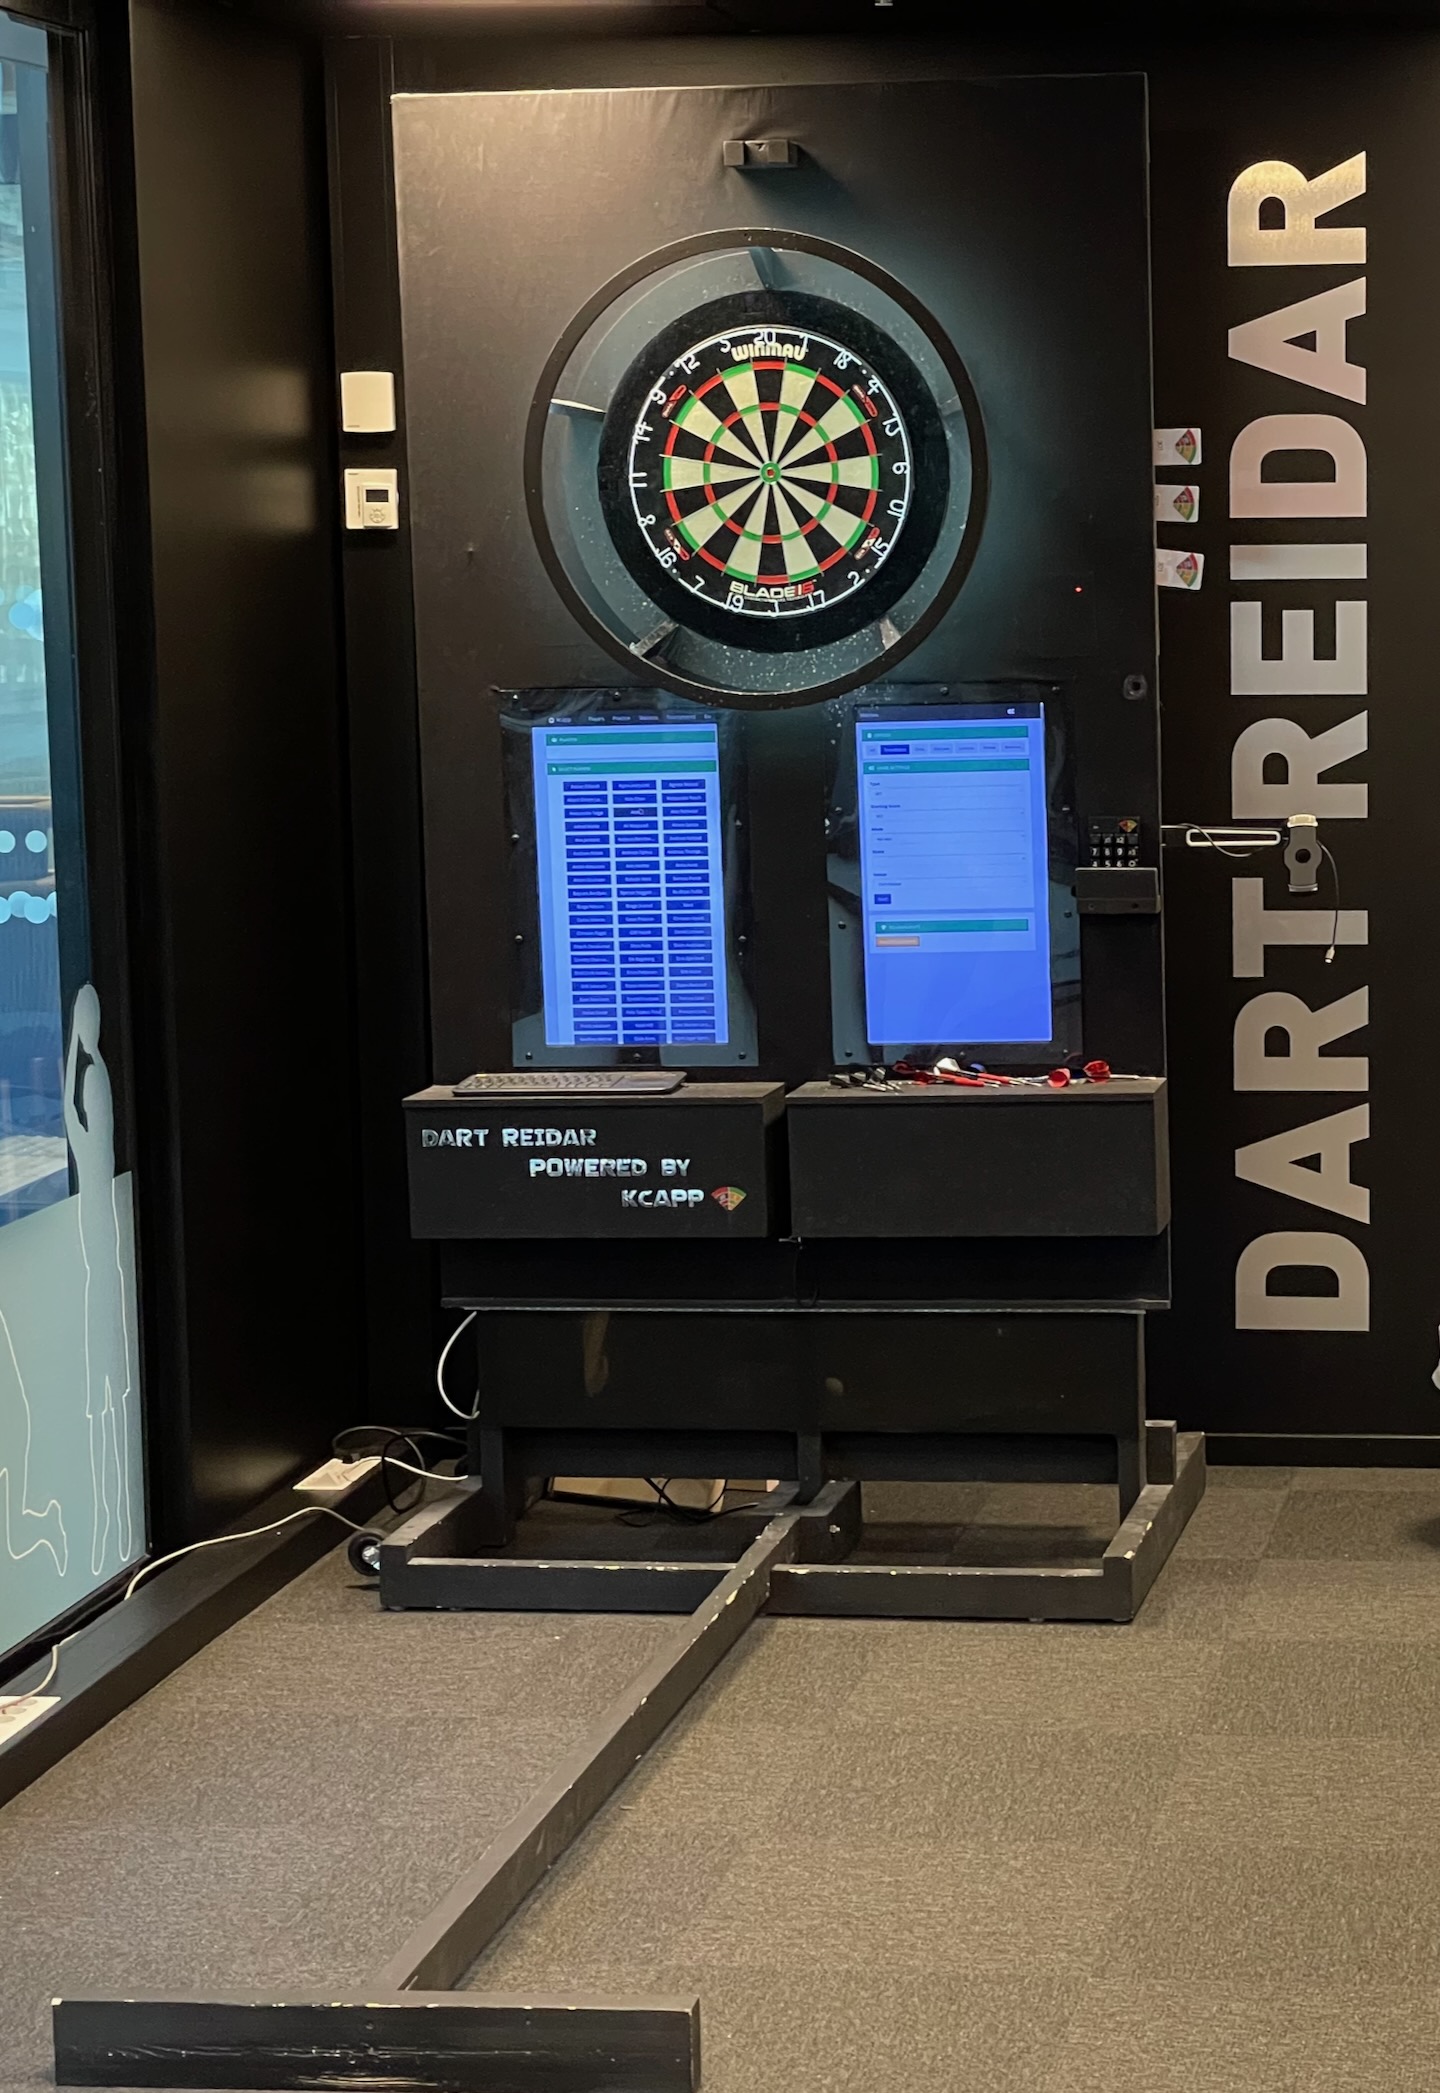
Ever since we built Dart Reidar at work, I’ve been wanting to create something similar to upgrade my dart setup at home. Obviously I don’t have room for anything that large, but getting lights around the board would be cool.
Background
When we were adding lights to Dart Reidar, we were brand new to the space, and ended up with a mix of 12v and 24v lights, controlled via a Raspberry Pi using pigpihoseo. This gave us the ability to do any RGB color of lights around the board, as well as along the oche. kcapp then added support for each player to choose their own color, and when a checkout happens the lights would do a simple “blink” effect for a few seconds.
For another hackathon at work, we looked into adding WLED support instead, which would give a lot more options for effects and stuff, but it is yet to be finalized. Since then I’ve thought a lot about how I could get WLED setup at home with some lightstrips, but the wiring and soldering parts have always worried me a bit, and I never got around to it.
Home improvement version
One day I stumbled across pre-built WLED controllers, which sounded exactly like what I would want, and which would take away most of the worries regarding how to mount the ESP32 and mess of wires. Initially I decided to try having one strip around the board, and one on each side of the board up the wall, and a great thing about some GLEDOPTO controllers is that they have 4 outputs, so it can easily run multiple strips.
Shopping List
Controller
GLEDOPTO has quite a few different WLED controllers to choose between, and they ship to Norway from Amazon, so I decided to try one of those. I looked at a few different options but ended up with the GLEDOPTO 4D-EXMU as it seemed like their “best” one, and price difference wasn’t that big compared to the lesser versions.
LED strips
When it comes to which strips to use WLED has a good comparison on their website of a lot of different strips and advantages between the different ones. I ended up choosing WS2815 since I wanted something 12v and it has a backup data line. I also don’t care about any ambient white light on these, if I did I would probably select a RGBCCT strip. Specifically I chose a 30LEDs/m to divide into sections for the left and right side of the wall, and a 60LEDs/m to go around the board.
Power Supply
Initially I chose a cheap generic 12V 10A Power Supply Adapter, but I quickly replaced it with a more suitable Mean Well power supply, since the original generated too much high pitched whining noise under load. For the future, I’m thinking about replacing this with something like MEAN WELL Switching Power Supply, RS-75-12, but as a beginner just starting out, a power supply with a barrel adapter works well, and can be just plugged directly into the GLEDOPTO controller
Diffusers
Looking directly at LED strips isn’t very pleasurable for your eyes, especially at higher brightness. It also looks unfinished and more amateur. To improve this I found a 2 meter long 12mm black aluminium profile that I could cut for the strips on the side. I chose a “frosted” cover instead of the black one, since I wanted light to clearly be visible, and was afraid black might be too dark. For around the board I found a flexible silicone profile, but a bit of foreshadowing: This did not work … more on that later
Other
To connect everything together I found some 4 core electric cable which works well with the 4 wires needed for the WS2815 and a set of 4-pin JST cables to more easily unplug the strips and not have to deal with loose wires directly into the controller
I also discovered the 4-pin connector kits that BTF-LIGHTING has, which I picked up to more easily use the rest of the strips after I cut them. This can also be done with soldering, but these connectors make it even simpler to do
On top of this, I also picked up some adhesive tape to easily mount the diffuser channels onto the wall
Assembly
Once everything arrived it was time to assemble.
One thing I struggled with when I first got the GLEDOPTO controller was how to connect wires to the outputs. It has these “clamps” which lift open to insert the wire, and then close. But I was having a hard time getting any wire to stick. After banging my head against the wall for a while, and some googling, I finally figured out you need to open the clamp fully to a 90° angle, and not just to the first point where they “stop”. It actually requires a surprising amount of force to open them all the way (at least the first few times)
Partially open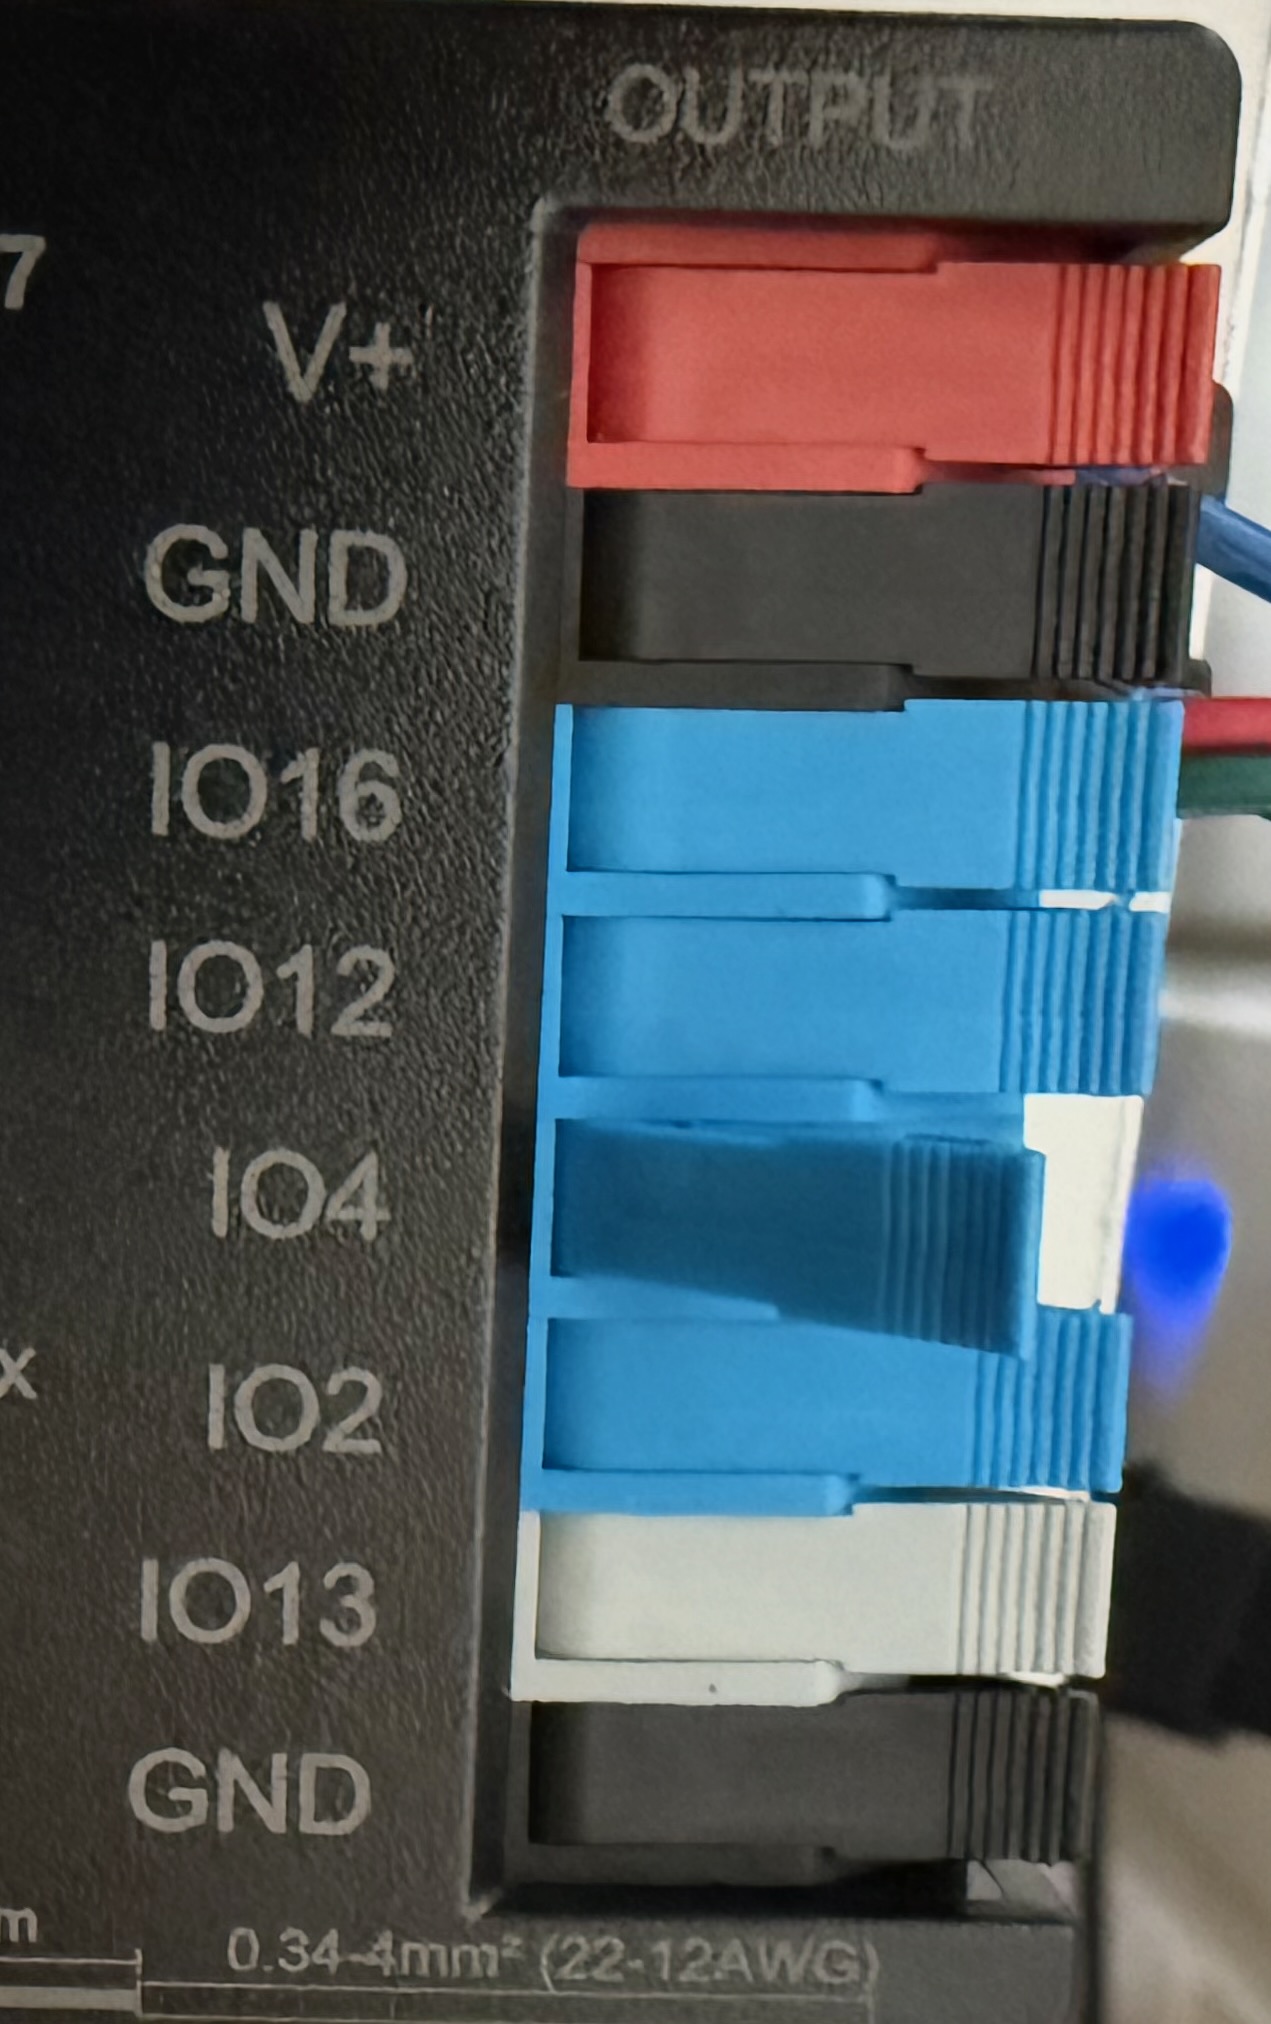
Fully extended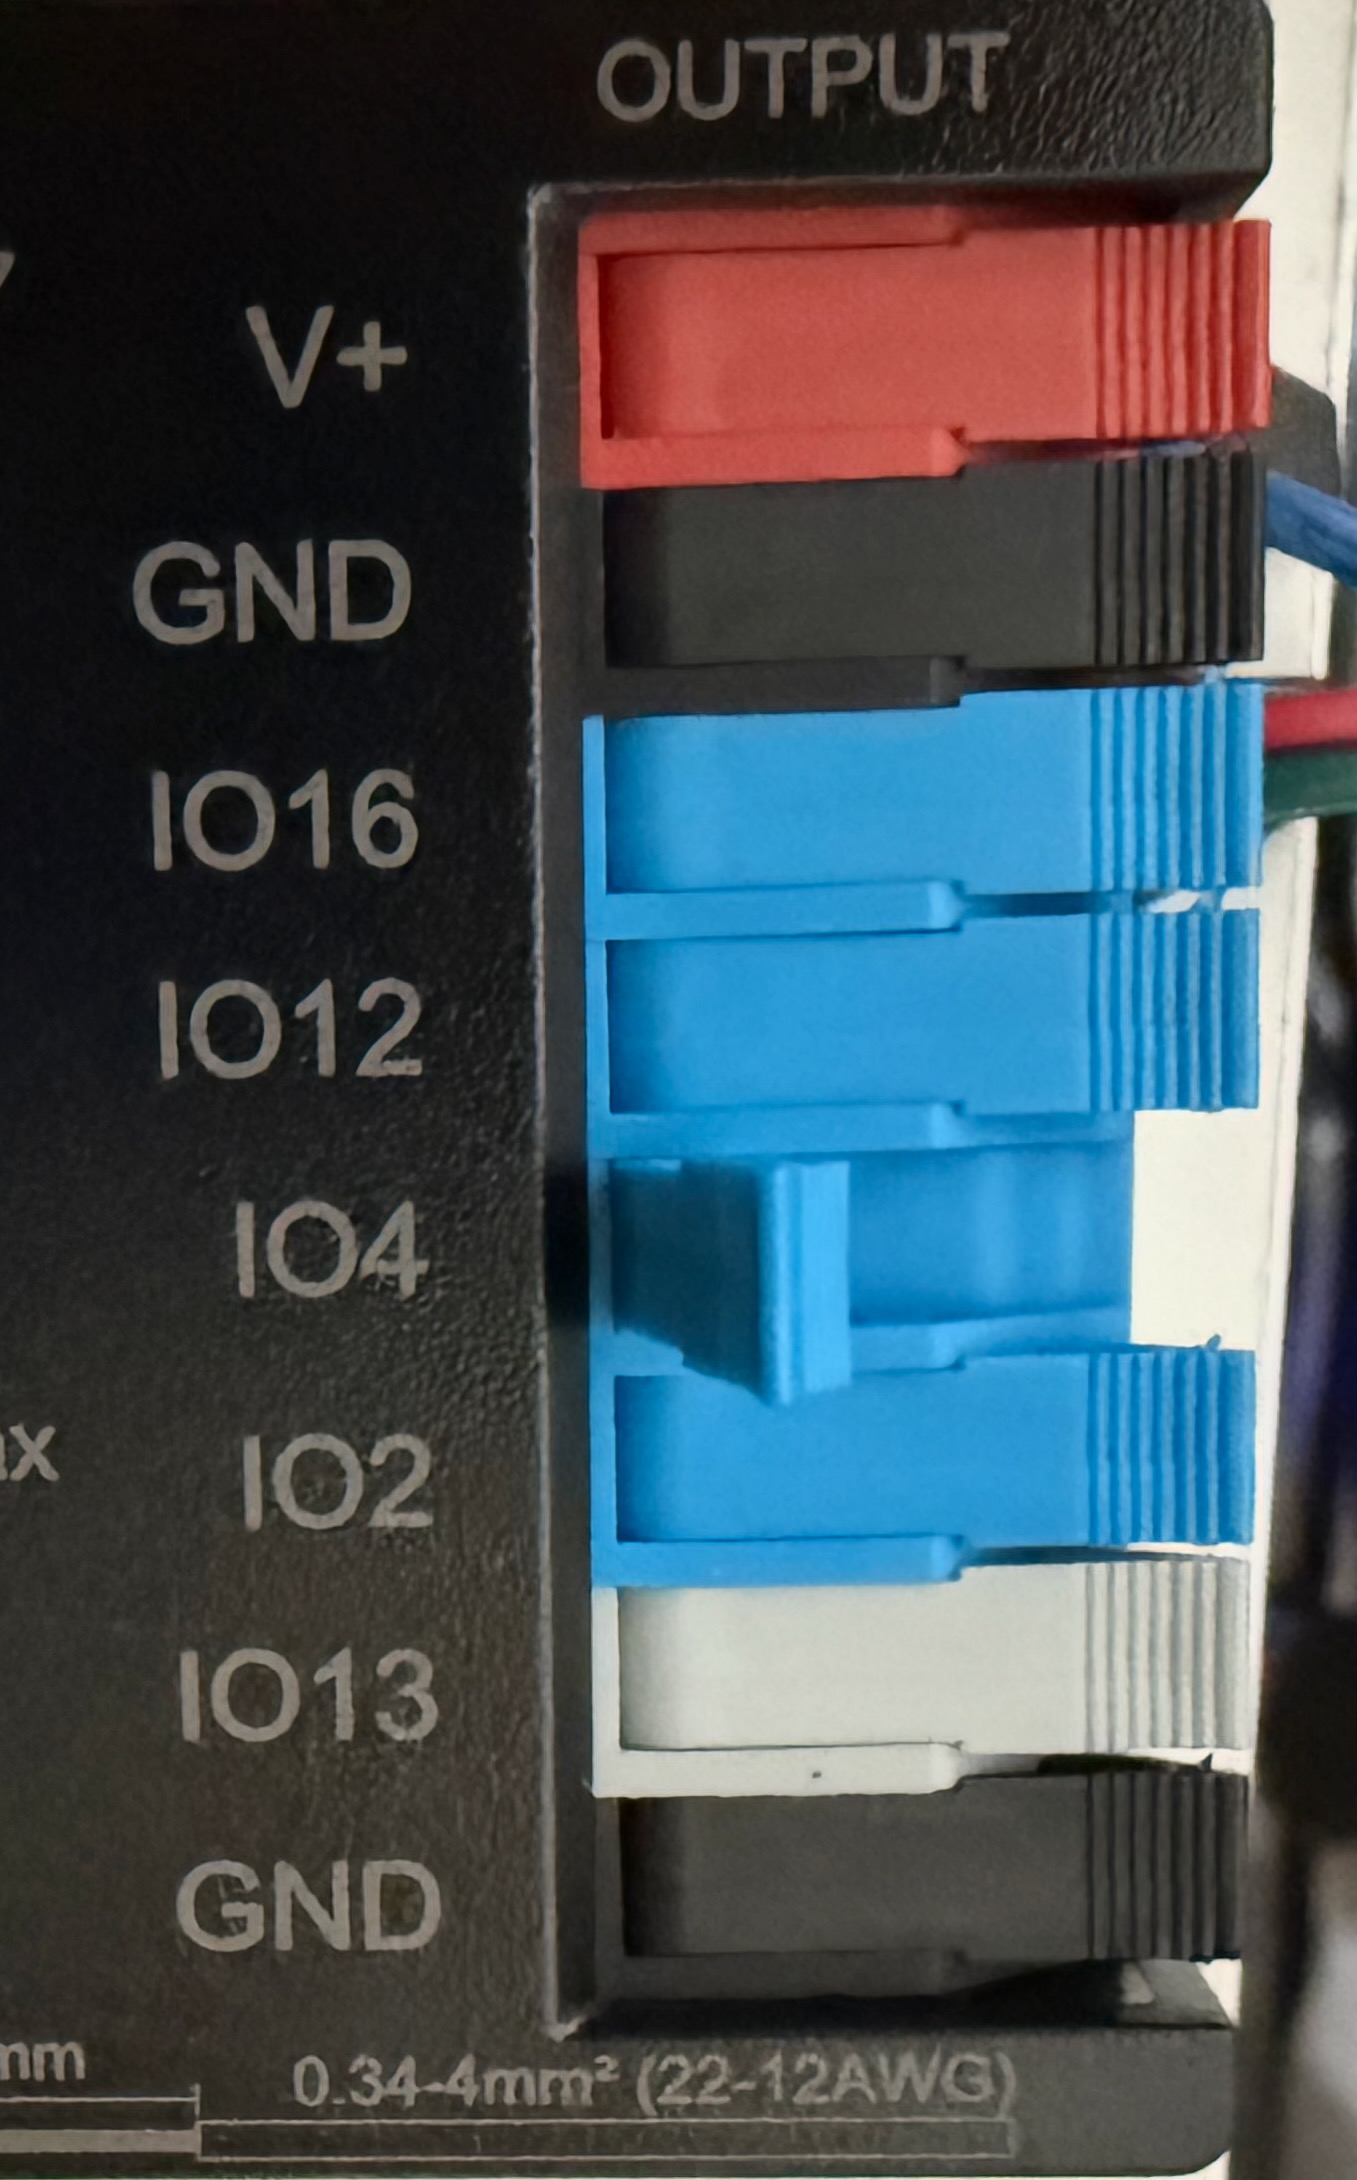
Board strip
This brought me the most trouble. The LED Silicone profile I had bought says it should fit 12mm strips, but I had a lot of trouble getting the strip into the channel. Even after using a xacto knife and slicing it open, I was struggling to pull the strip through. After a lot of manually moving and pushing the strip I eventually got it to sit somewhat, but not perfectly.
Now the next issue was that I had planned the light to face outwards to the side, to not be too bright and distracting when playing. Unfortunately with nothing to reflect off of, and being inside a black silicone profile, this meant the light wouldn’t be visible at all from the front, which defeats part of the point. When we made the one for Dart Reidar we had the light at an angle so it reflected off the wall and surround, and when doing the initial WLED setup in the office a colleague 3D printed a black and white angled channel which also reflected the light a lot.
Trying to twist the profile around and attach it to the board provided another challenge. It can’t be anything permanently attached, since I need to be able to rotate and replace both the board and the surround in the future. So since that’s all temporary it wasn’t easy to find any way to attach it securely.
With all these problems, I ended up shelving the board strip, and figured the best bet is probably to go the 3D print route, but that will be something for another time.
Wall strips
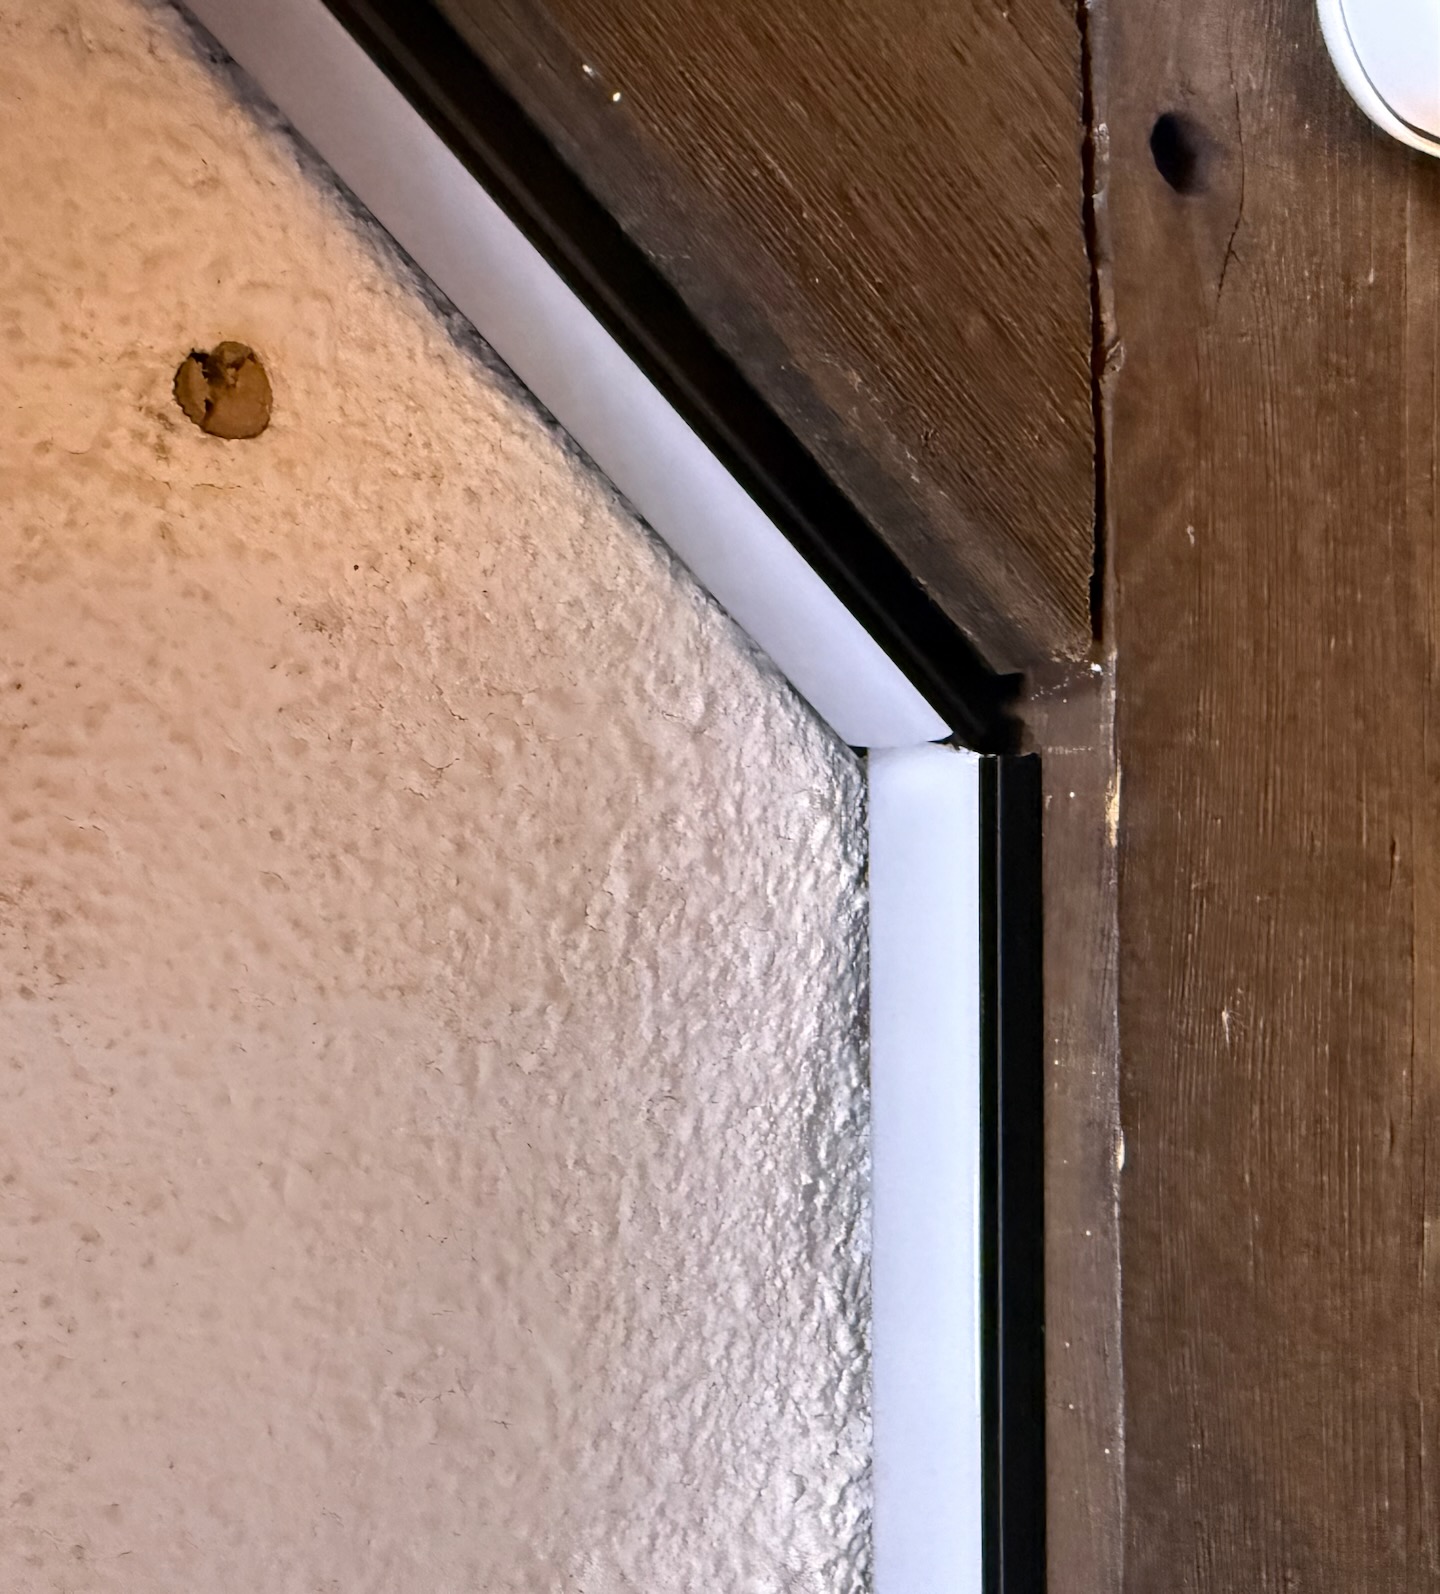
Thankfully the wall strips did not bring any trouble. I simply measured the required lengths for each side and cut at those lengths. The strip comes assembled with a JST connector on one end, and after cutting the length I needed, I used the 4-pin connector kit and connected a JST connector so I easily could unplug each strip if required.
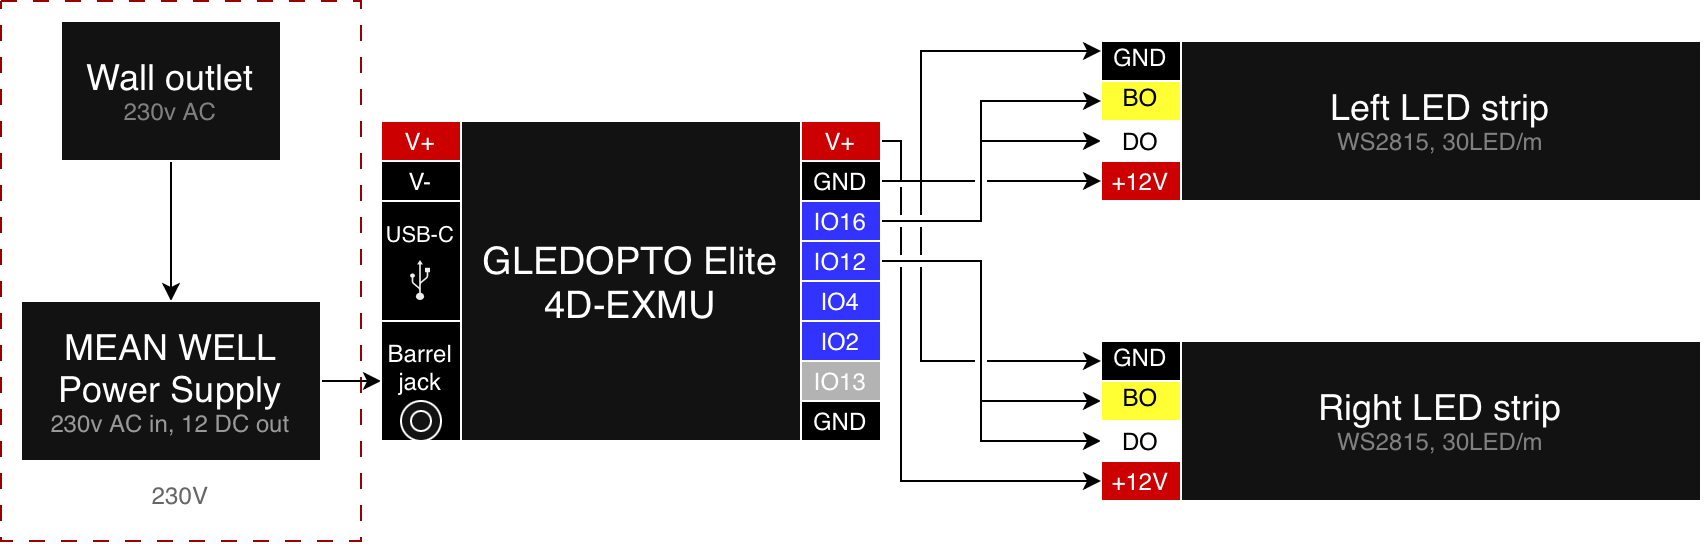
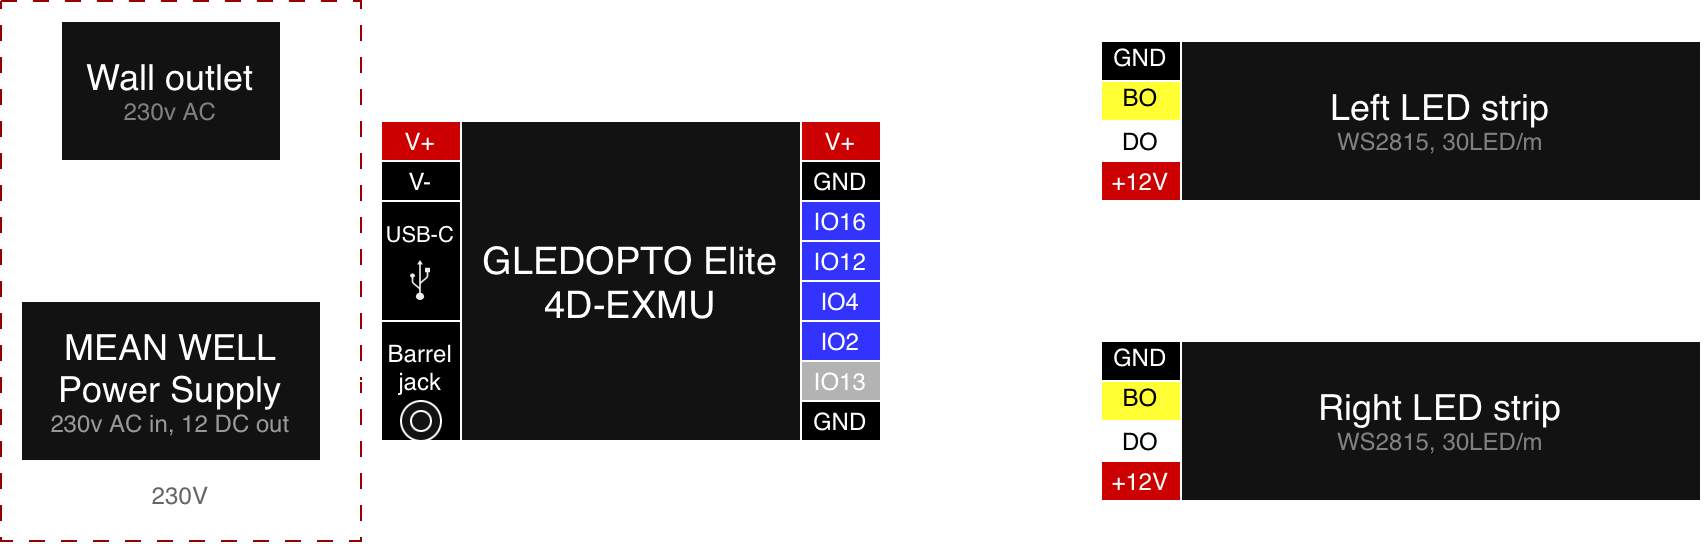
Then I connected the strips to the GLEDOPTO controller like the following:
| |
To get the +12V and GND wires to go to both strips I just used a Wago connector, which came in the box with the controller (1-to-4), and for both the data wires I simply put both into the same GPIO port on the controller.
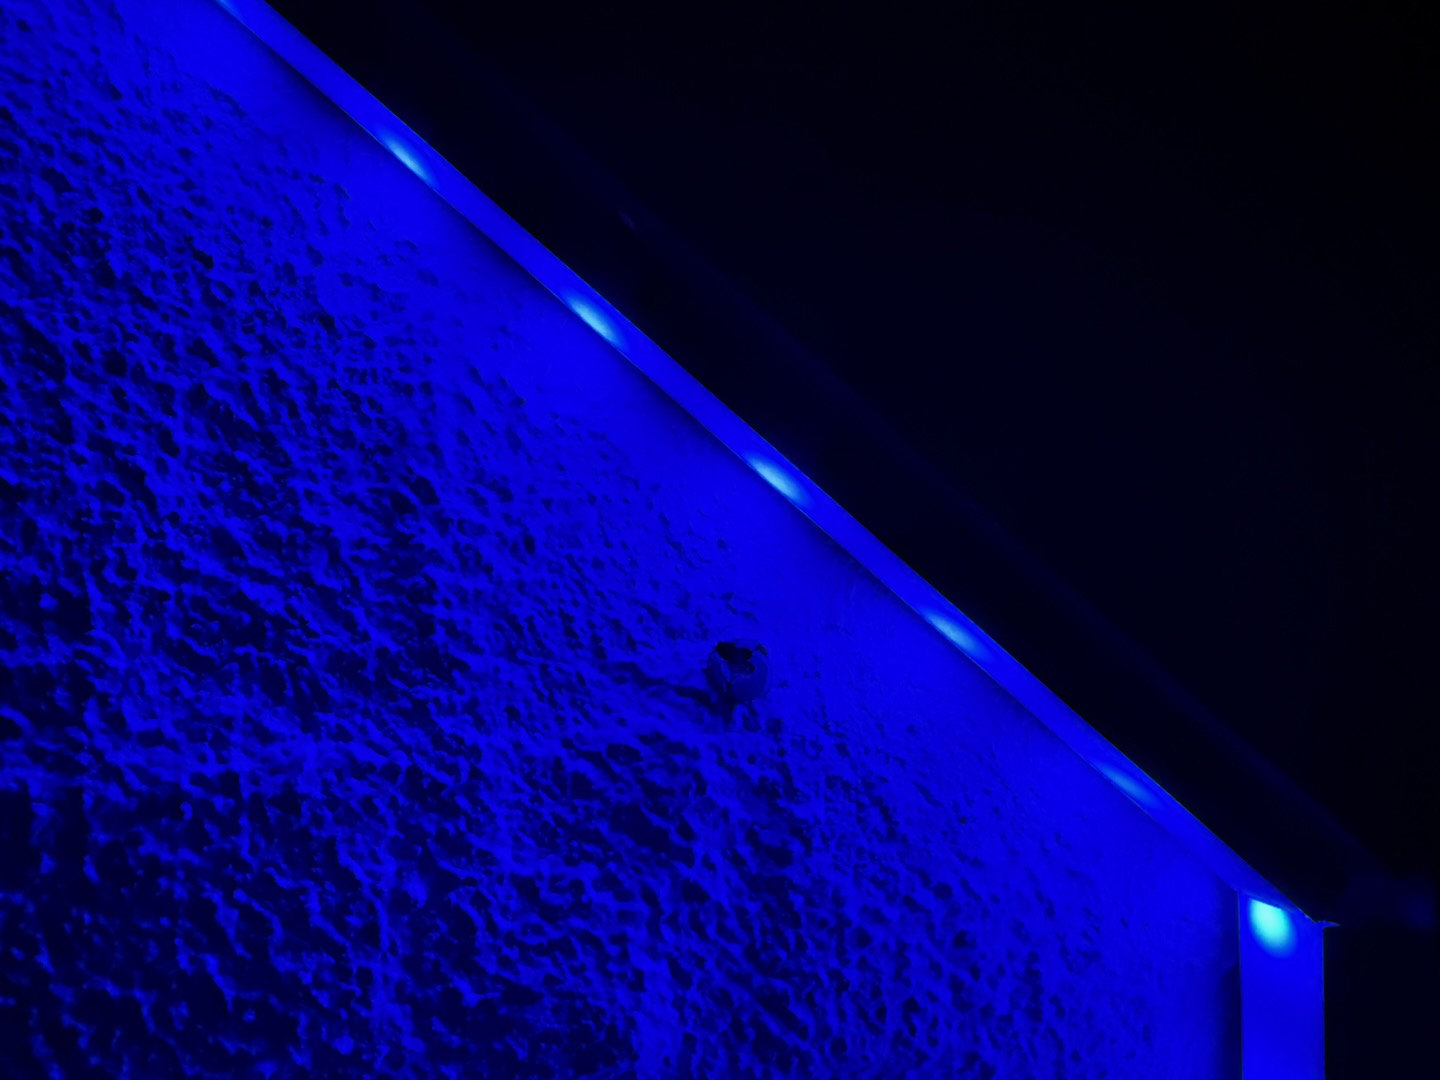
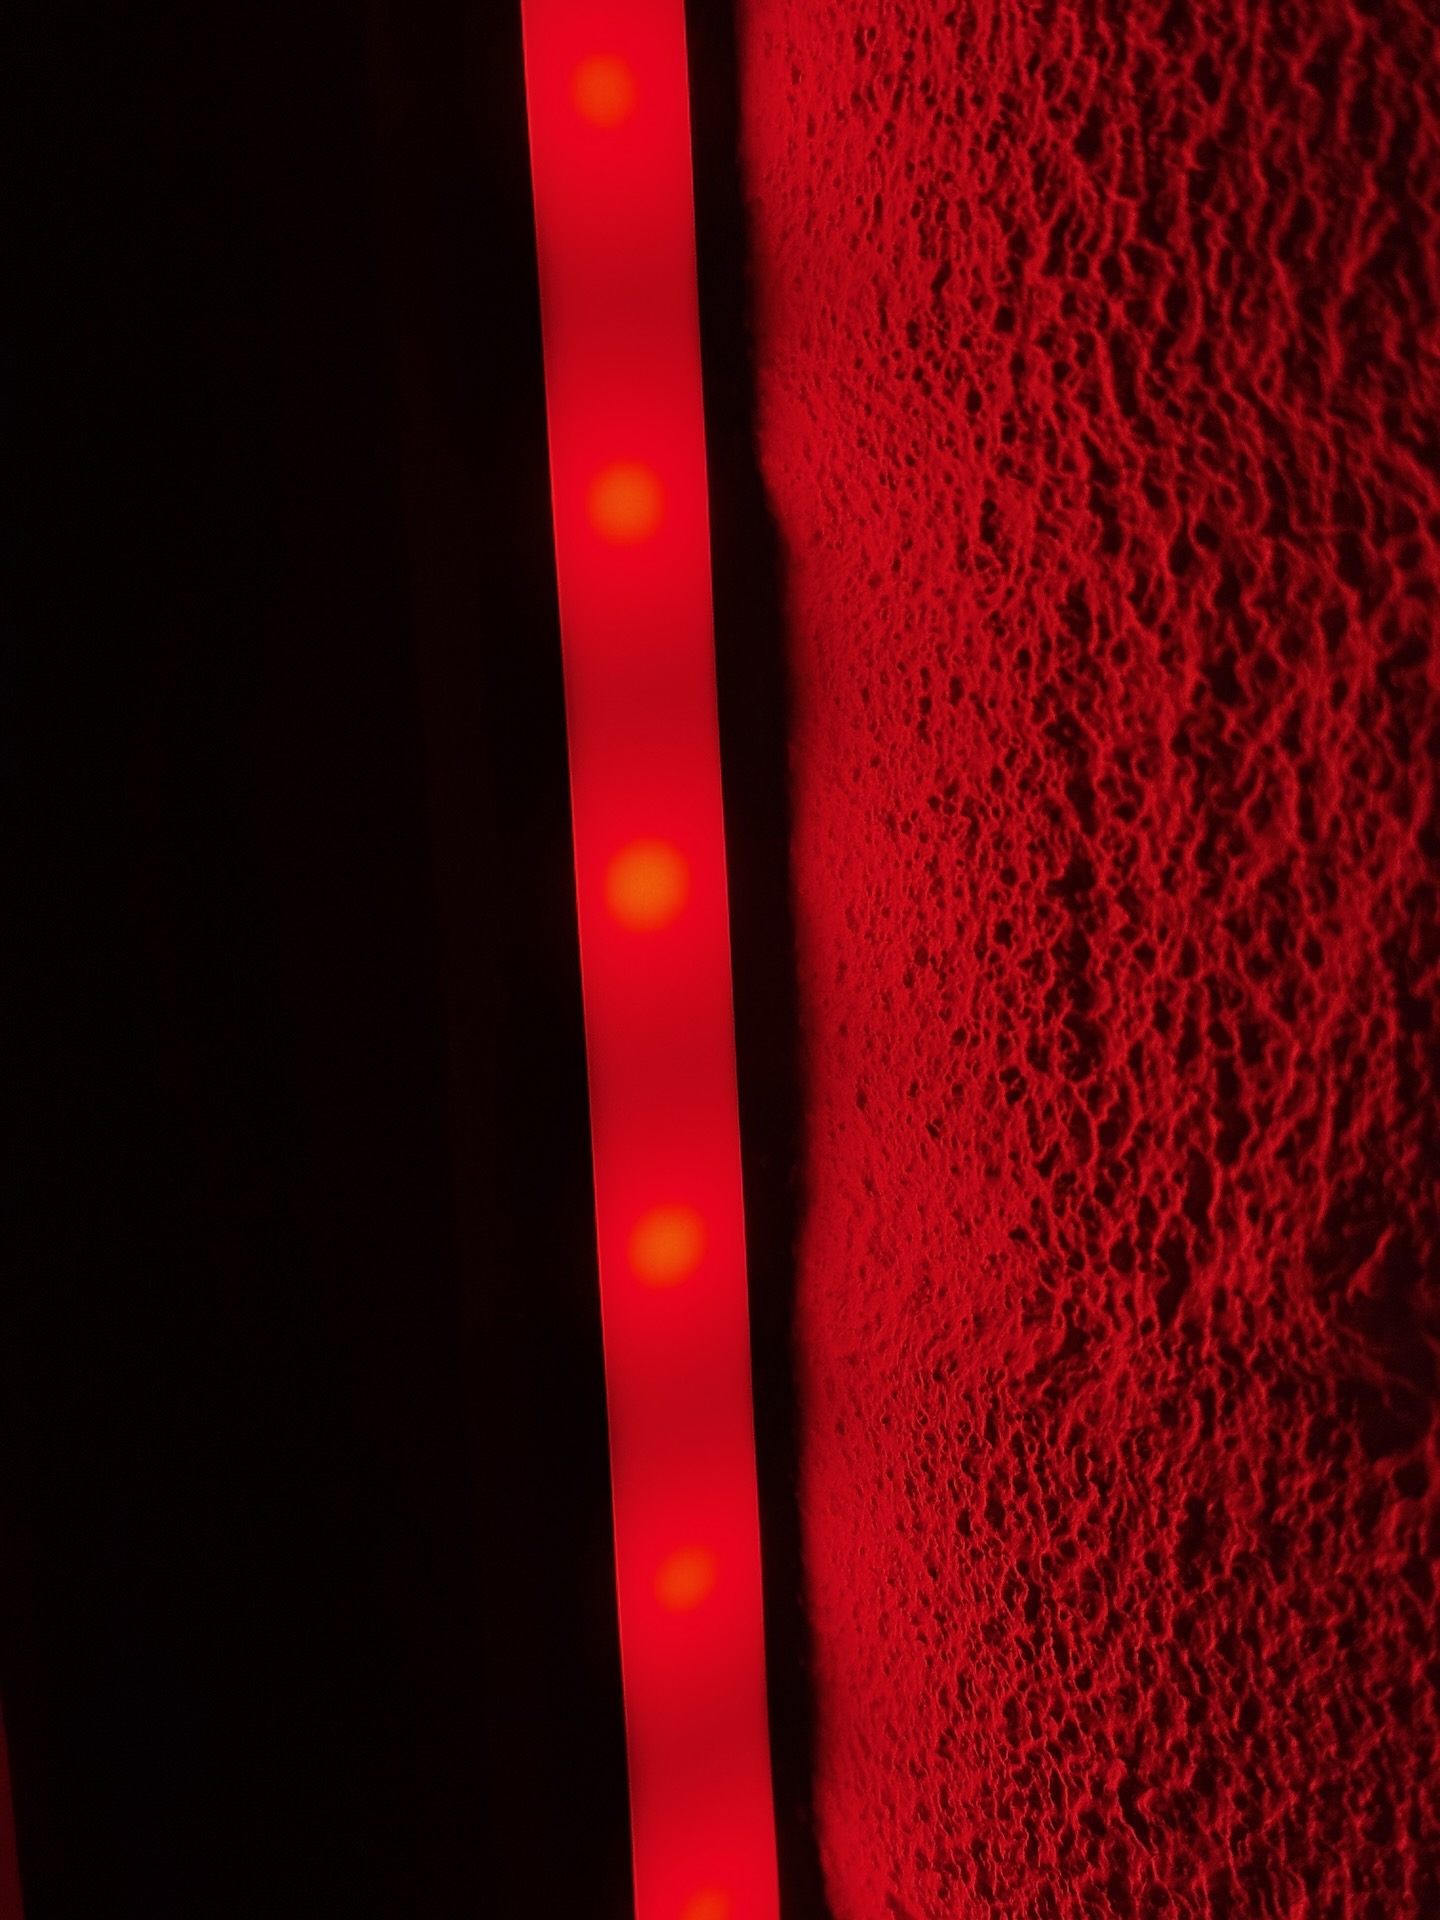
For the aluminium profiles I cut them with a hacksaw to the correct length. Strips came with adhesive on the back already, so I used this to connect them into the channel. I also cut the frosted cover with a pair of wire cutters to fit the new lengths. Then I used the screw mounts fo put them on the wall plus some of the double sided adhesive for the angled parts.
In hindsight I would probably have chosen a 60LEDs/m for these strips as well (or even 144LEDs/m if budget wasn’t a constraint) to have more fluid effects of the lights and make the strips seem like one continuous strip of light, but it still looks decent with the current 30LEDs/m strips.
Wiring diagram
Here is a simple diagram showing the wiring of the GLEDOPTO controller and the light strips
Conclusion
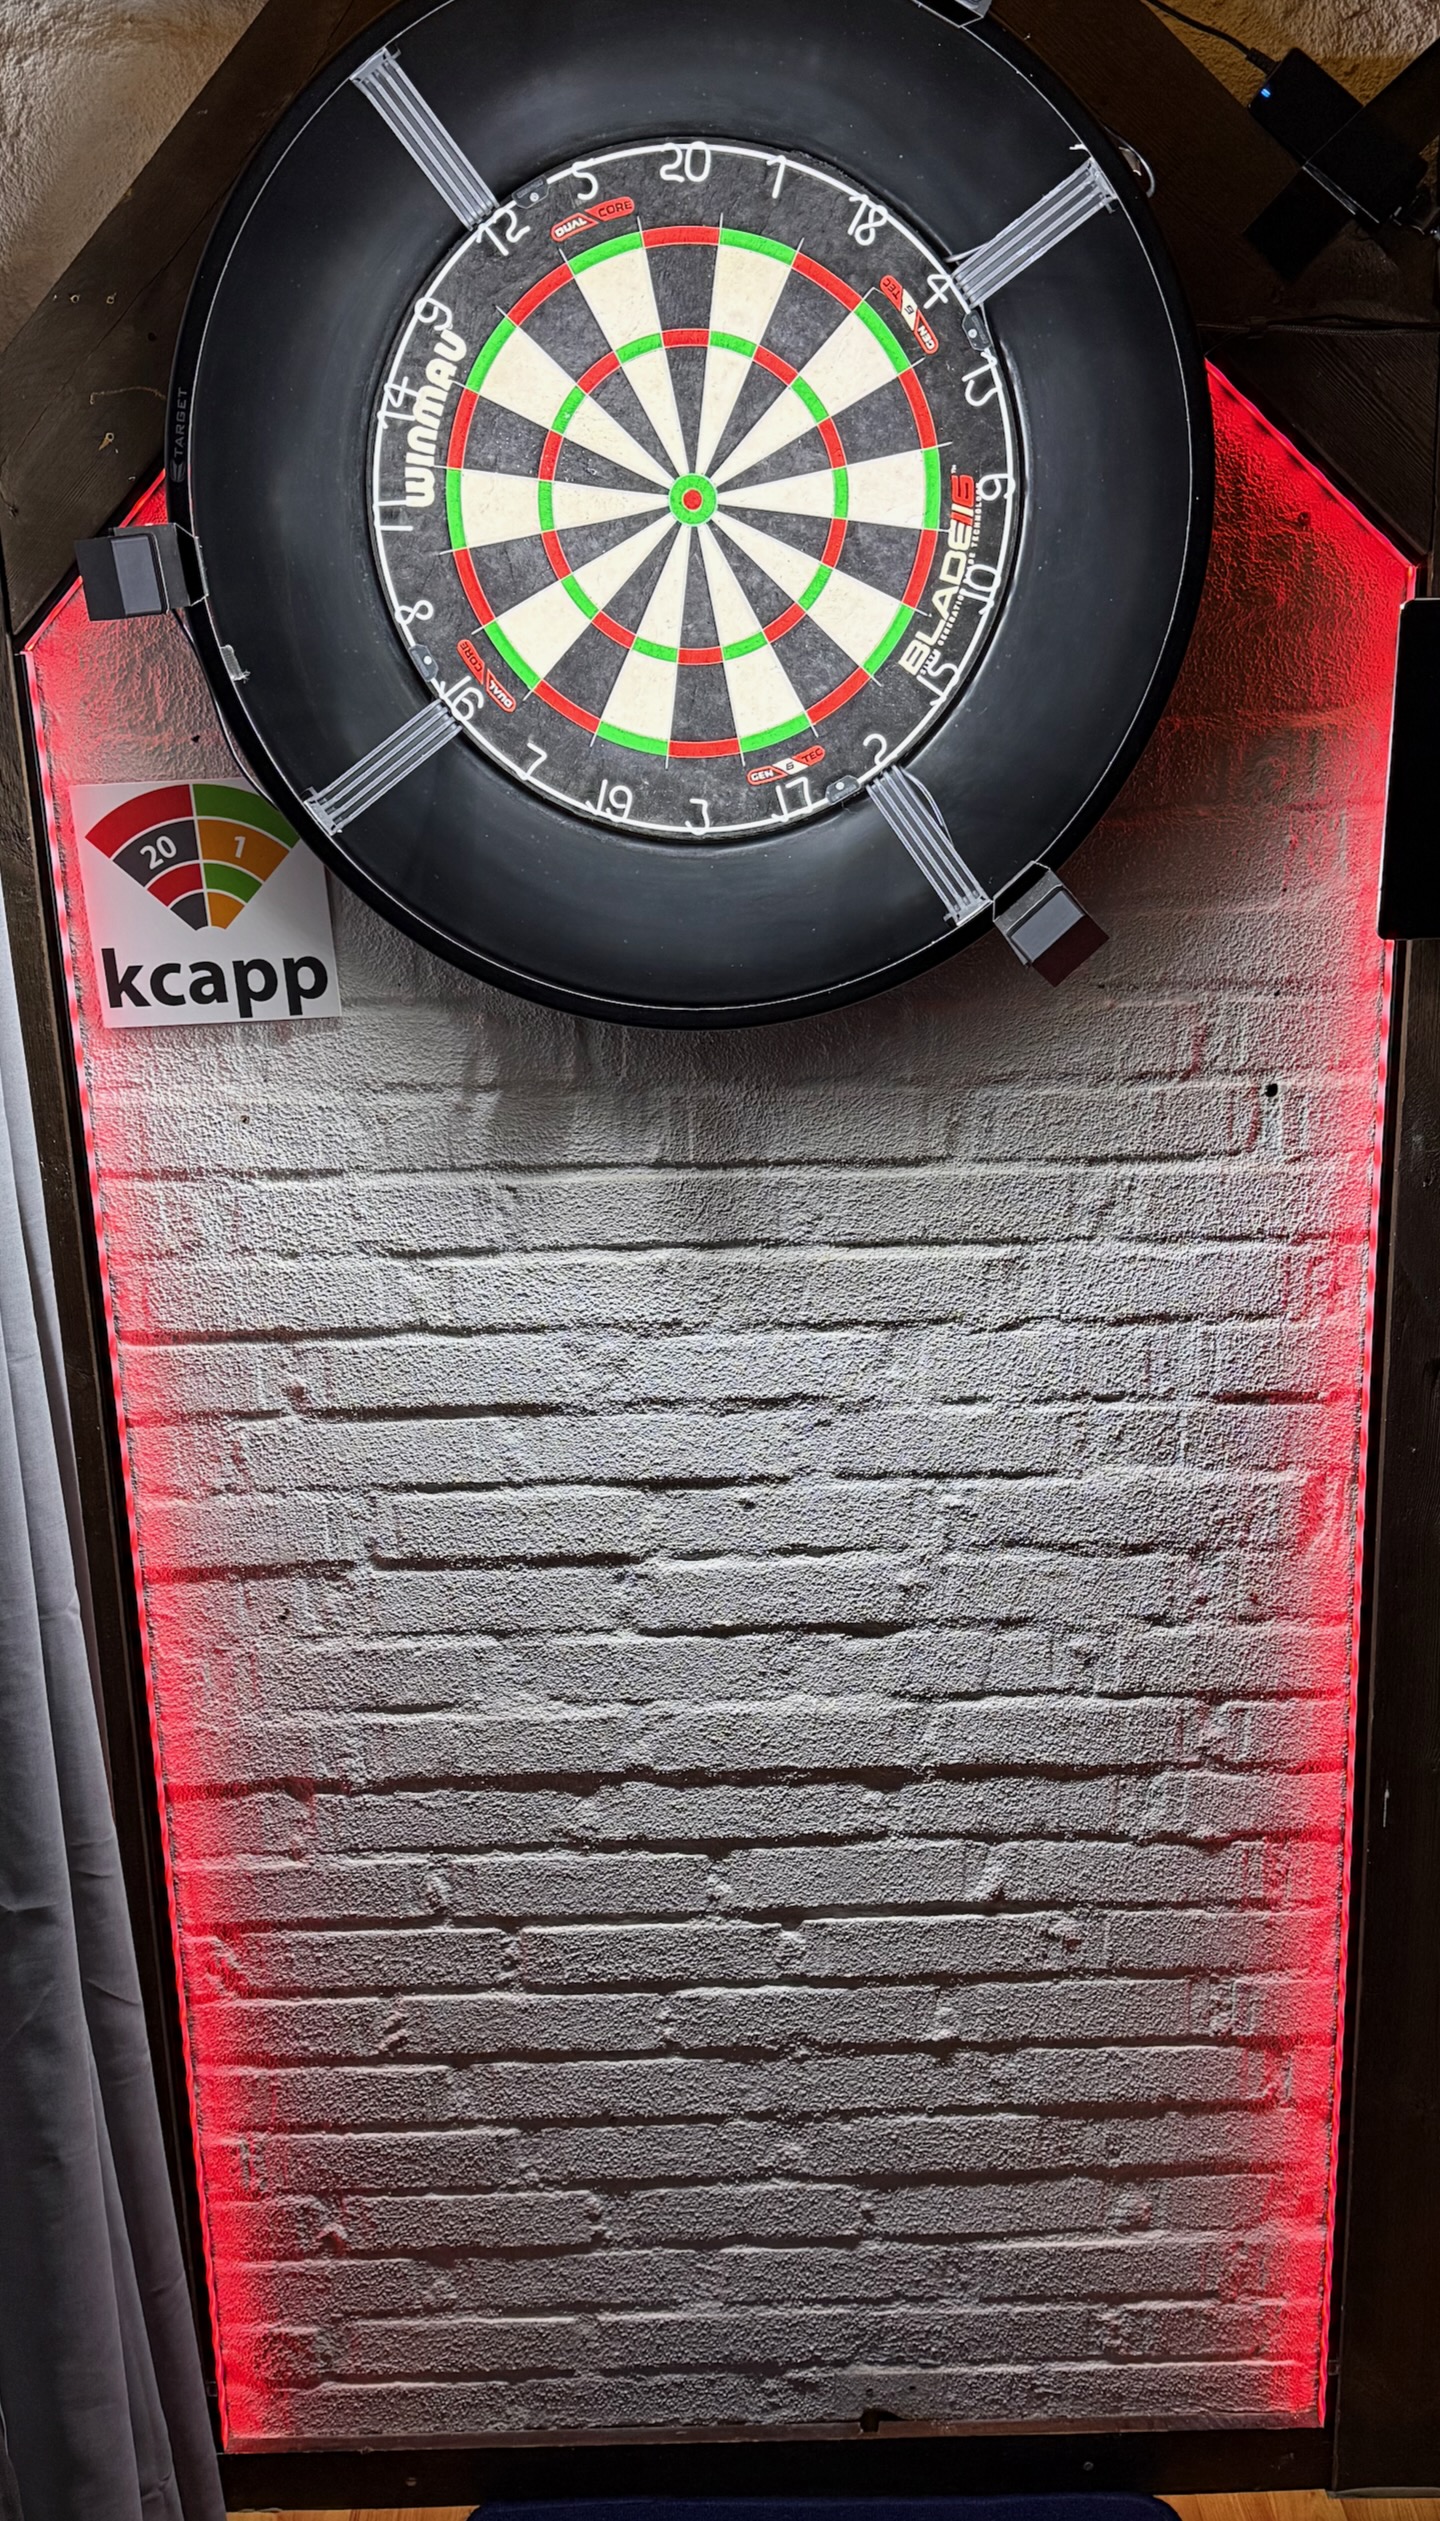
The controller still has two free outputs, so I’m able to get more strips connected, and I’m still hoping to find a solution to the dartboard surround strip, but for now I’m quite happy with the result, and it has definitely upgraded the look of the dartboard!
Demo
WLED Colorloop effect
WLED Heartbeat effect